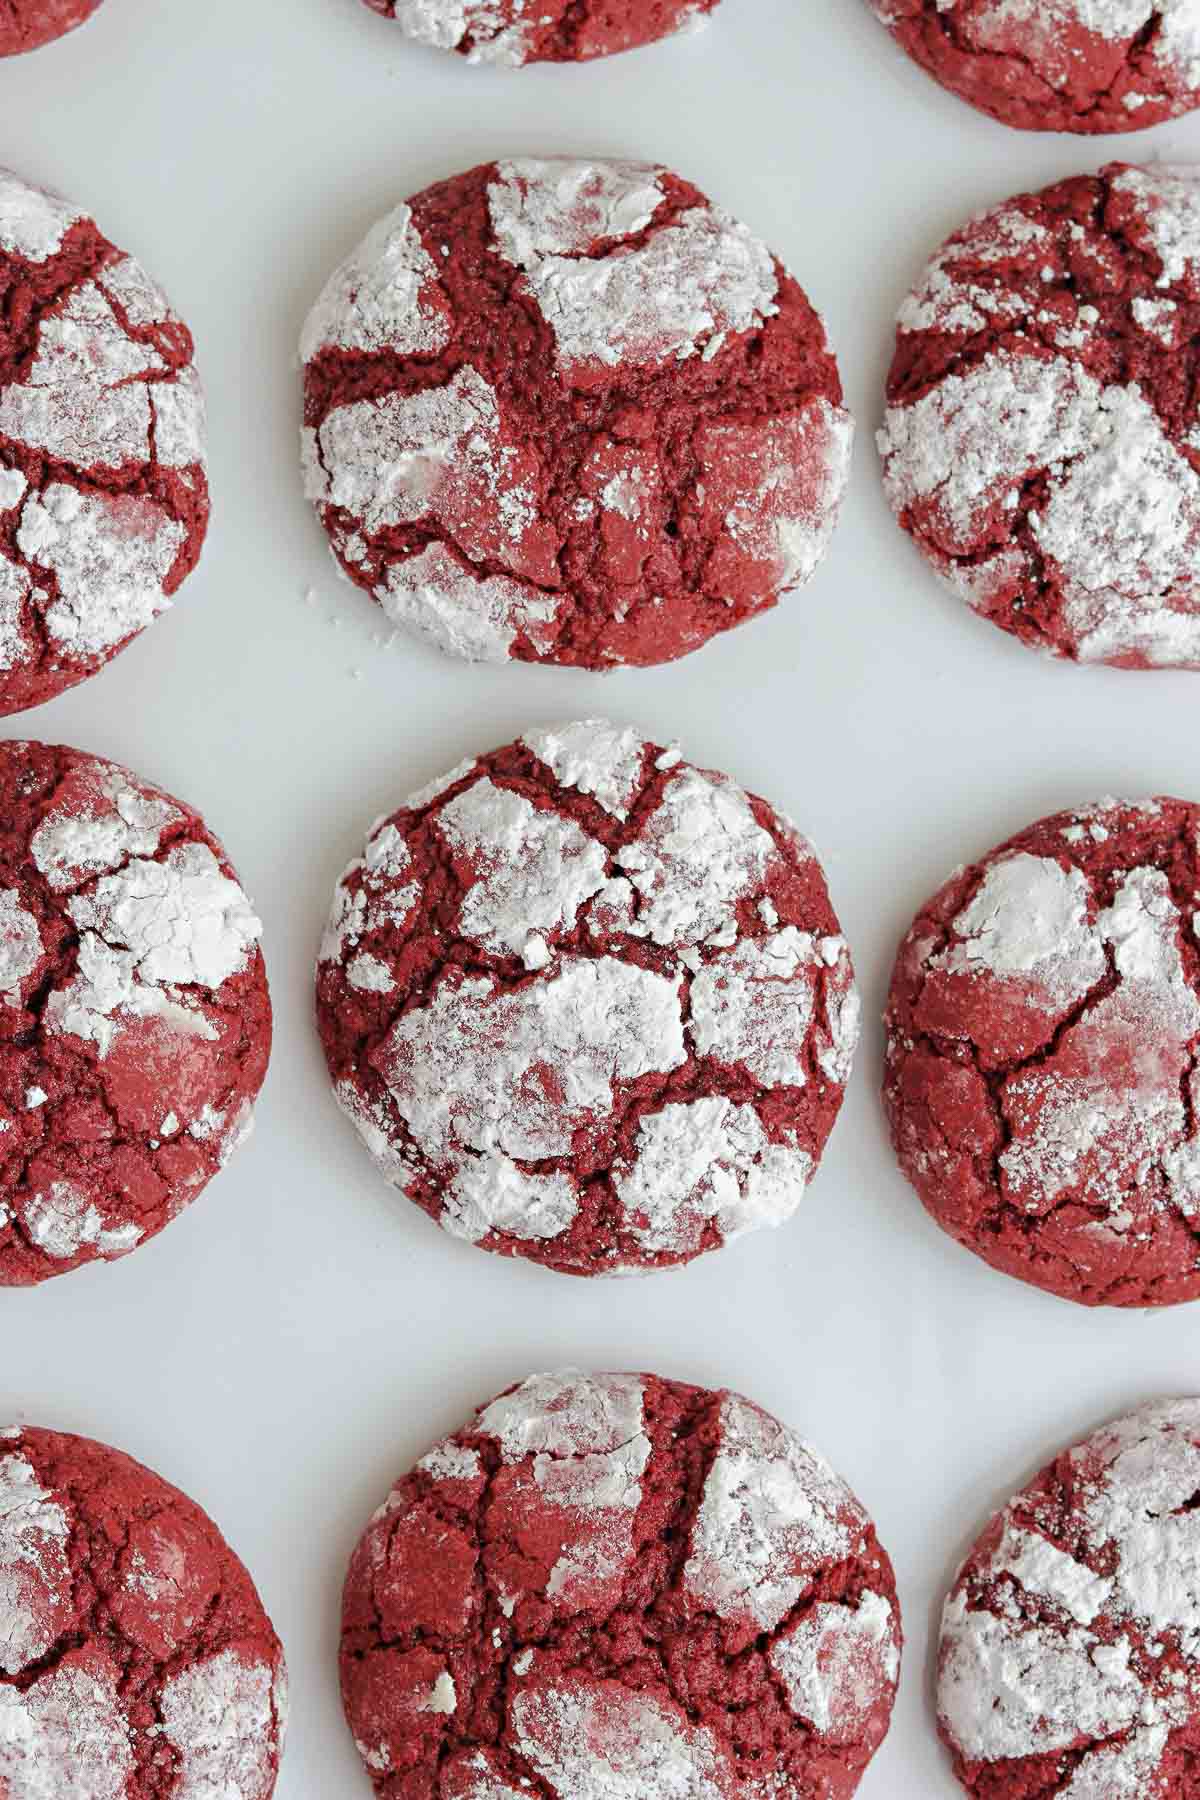
Red Velvet Crinkle Cookies are thick, chewy, and gooey cookies with a festive twist on a classic red velvet recipe. This moist, decadent dessert comes together in 30 minutes using cocoa powder and red food coloring, and just a bit of chill time!
Need a few more delicious cookie recipes to try? These Cream Cheese Cookies topped with festive sprinkles or these Red Velvet Cream Cheese Cookies are both amazing!
Red Crinkle Cookies
Crinkle cookies are one of my favorite Christmas cookies that every home baker can serve because they are so easy to make!
They’re thick, decadent, chewy cookies that are traditionally rolled in powdered sugar, and once baked they rise and start cracking which allows a bit of the inside of the cookie to be exposed.
I’ve made the classic chocolate crinkle cookies on my blog for quite some time, but this year I’ve decided to get a little extra creative. I’ve turned the traditional crinkle cookie into a Grinch crinkle cookie, which is bright green and adorned with a red heart and now these fudgy red velvet crinkle cookies too!
Crinkle cookies are a dessert that can be made in all sorts of flavors, however, for a special occasion like Christmas and even Valentine’s day, you can’t go wrong with a bright beautiful red velvet cookie!
WANT TO SAVE THIS RECIPE?
Enter your email below and we’ll send you this recipe so you can come back to it any time! (as well as our new recipes weekly!)
Ingredients You’ll Need
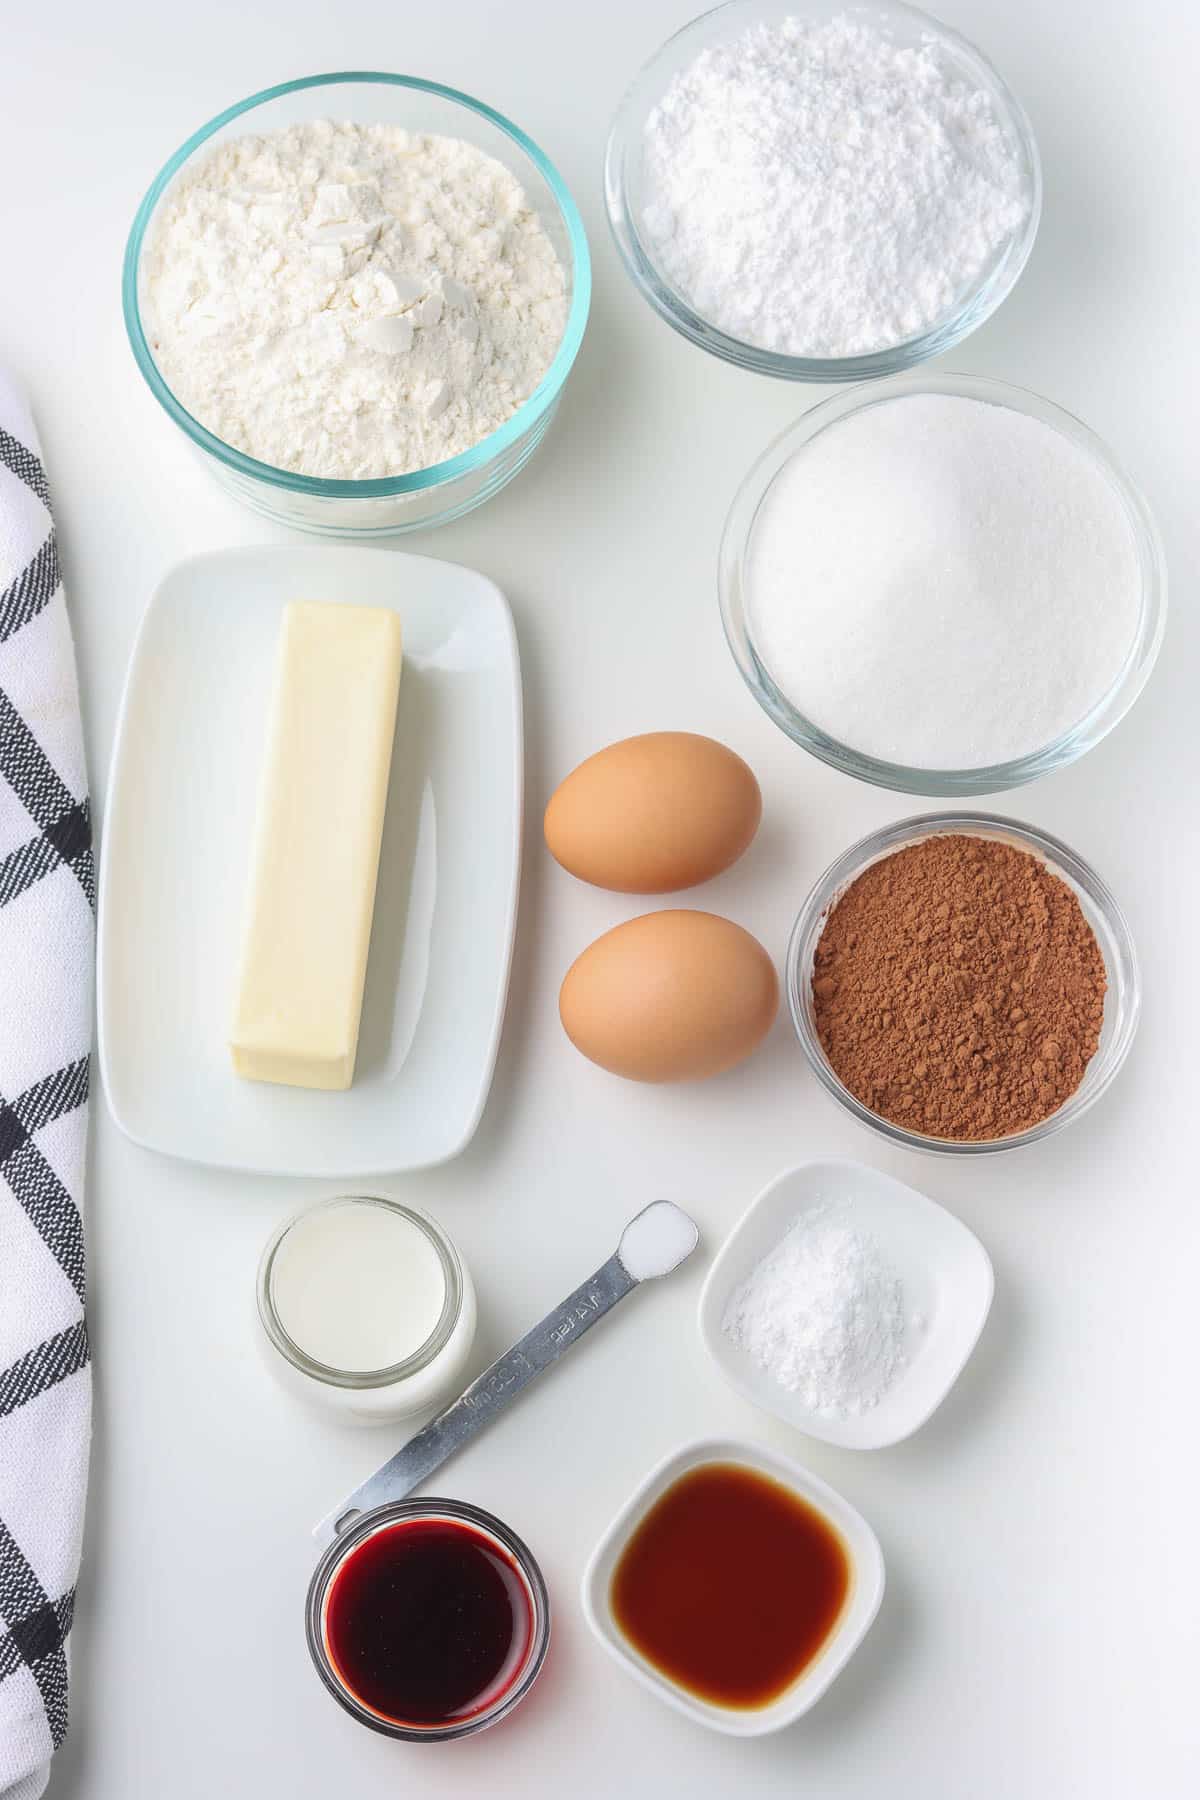
- All-purpose flour: Used as the base of these red velvet crinkle cookies. A mild-tasting flour is needed for structure.
- Unsweetened cocoa powder: We’re using unsweetened so we can control the amount of added sugar that goes into the recipe.
- Baking powder: A leavening agent that helps the cookies to rise and become nice and thick without falling flat.
- Salt: A flavor enhancer that allows all of the other ingredients to shine.
- Unsalted butter: Bring it out to room temperature ahead of time so that it is soft enough to cream easily.
- Granulated white sugar: Added for yummy sweetness!
- Eggs: Also bring these to room temperature. Starting with all of the ingredients at the same temperature helps with even baking.
- Milk: We are just using a bit, so any milk will do. Use whole milk, or 2% milk, non-dairy milk, whatever you have.
- Red food coloring: You have a choice between liquid food coloring or gel food coloring. The gel is much more concentrated and usually a bit more vibrant with fewer drops. However, liquid food coloring is less expensive.
- Vanilla extract: A warm flavor enhancer that brings the taste of these red velvet crinkle cookies to another level.
- Powdered sugar: Also known as icing sugar, or confectioner’s sugar, this is the tasty powdered sugar that has the appearance of snow. The cookies get rolled around in it before baking, so add more if needed.
Variations and Additions
1. For even more moisture and slightly different flavor, you could replace some of the white sugar with brown sugar and use both.
2. Swap the red food coloring for a different color depending on the occasion.
3. Roll them in white granulated sugar before the powdered sugar if you’d like.
How to Make This Crinkles Recipe
They are a great way to show off your homemade baking skills because of how quick and easy they are to make. An impressive dessert that deserves a spot on everyone’s cookie tray!
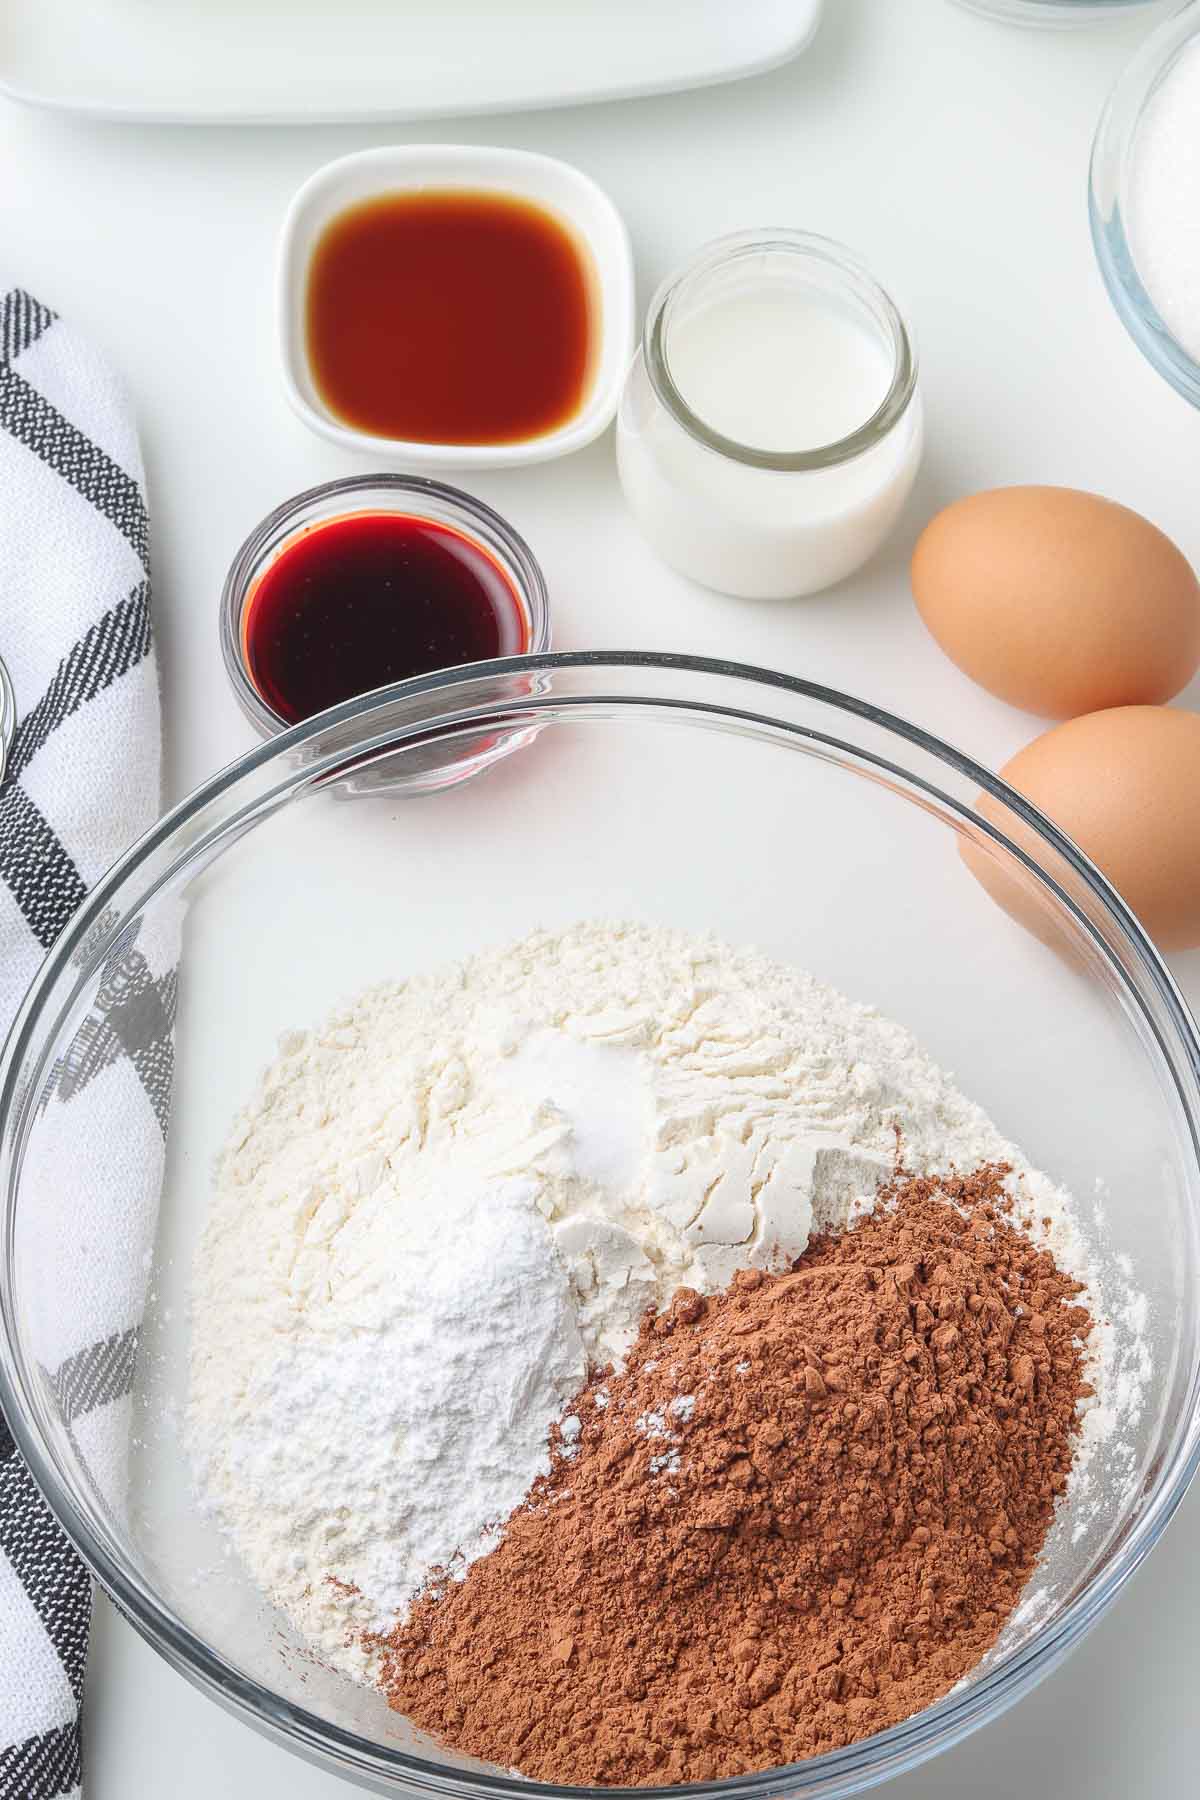
Step 1: In a medium bowl, whisk together the flour, cocoa powder, baking powder, and salt.
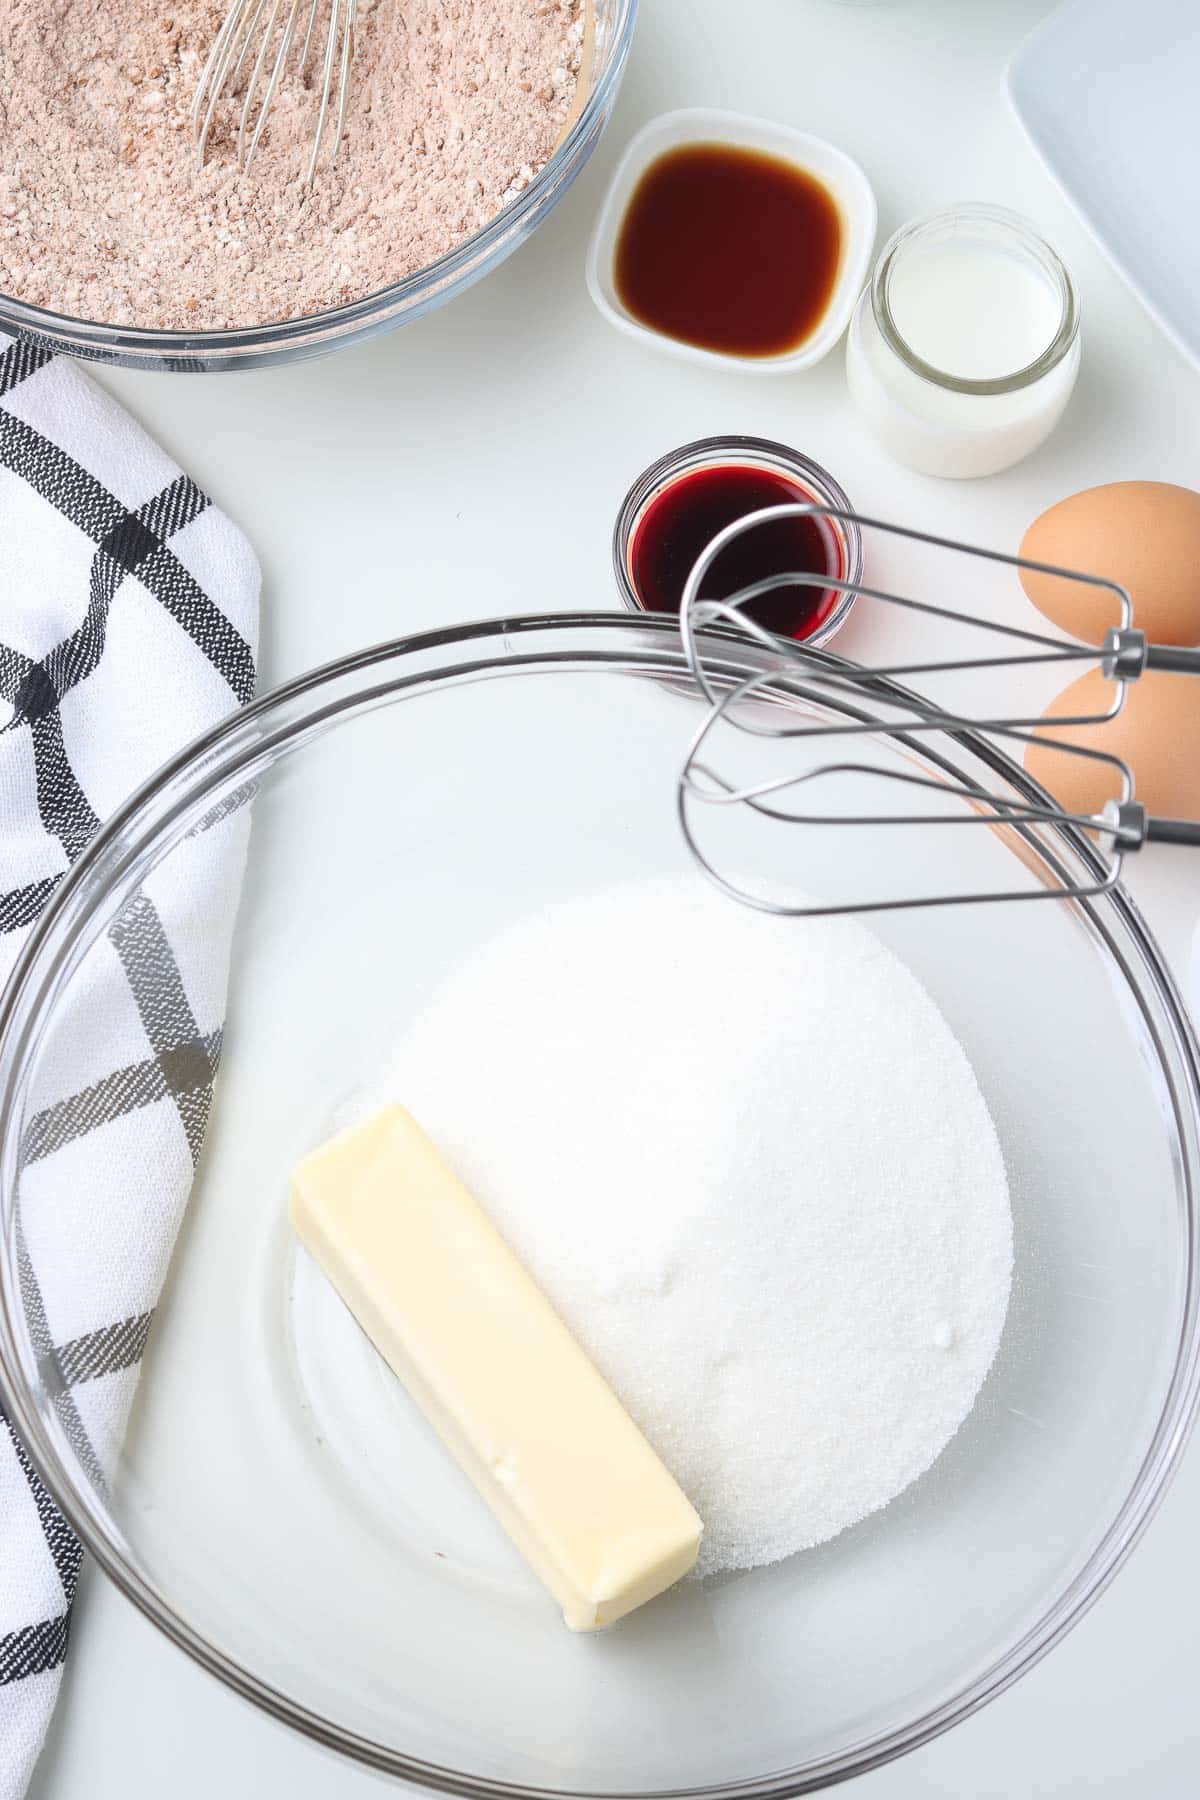
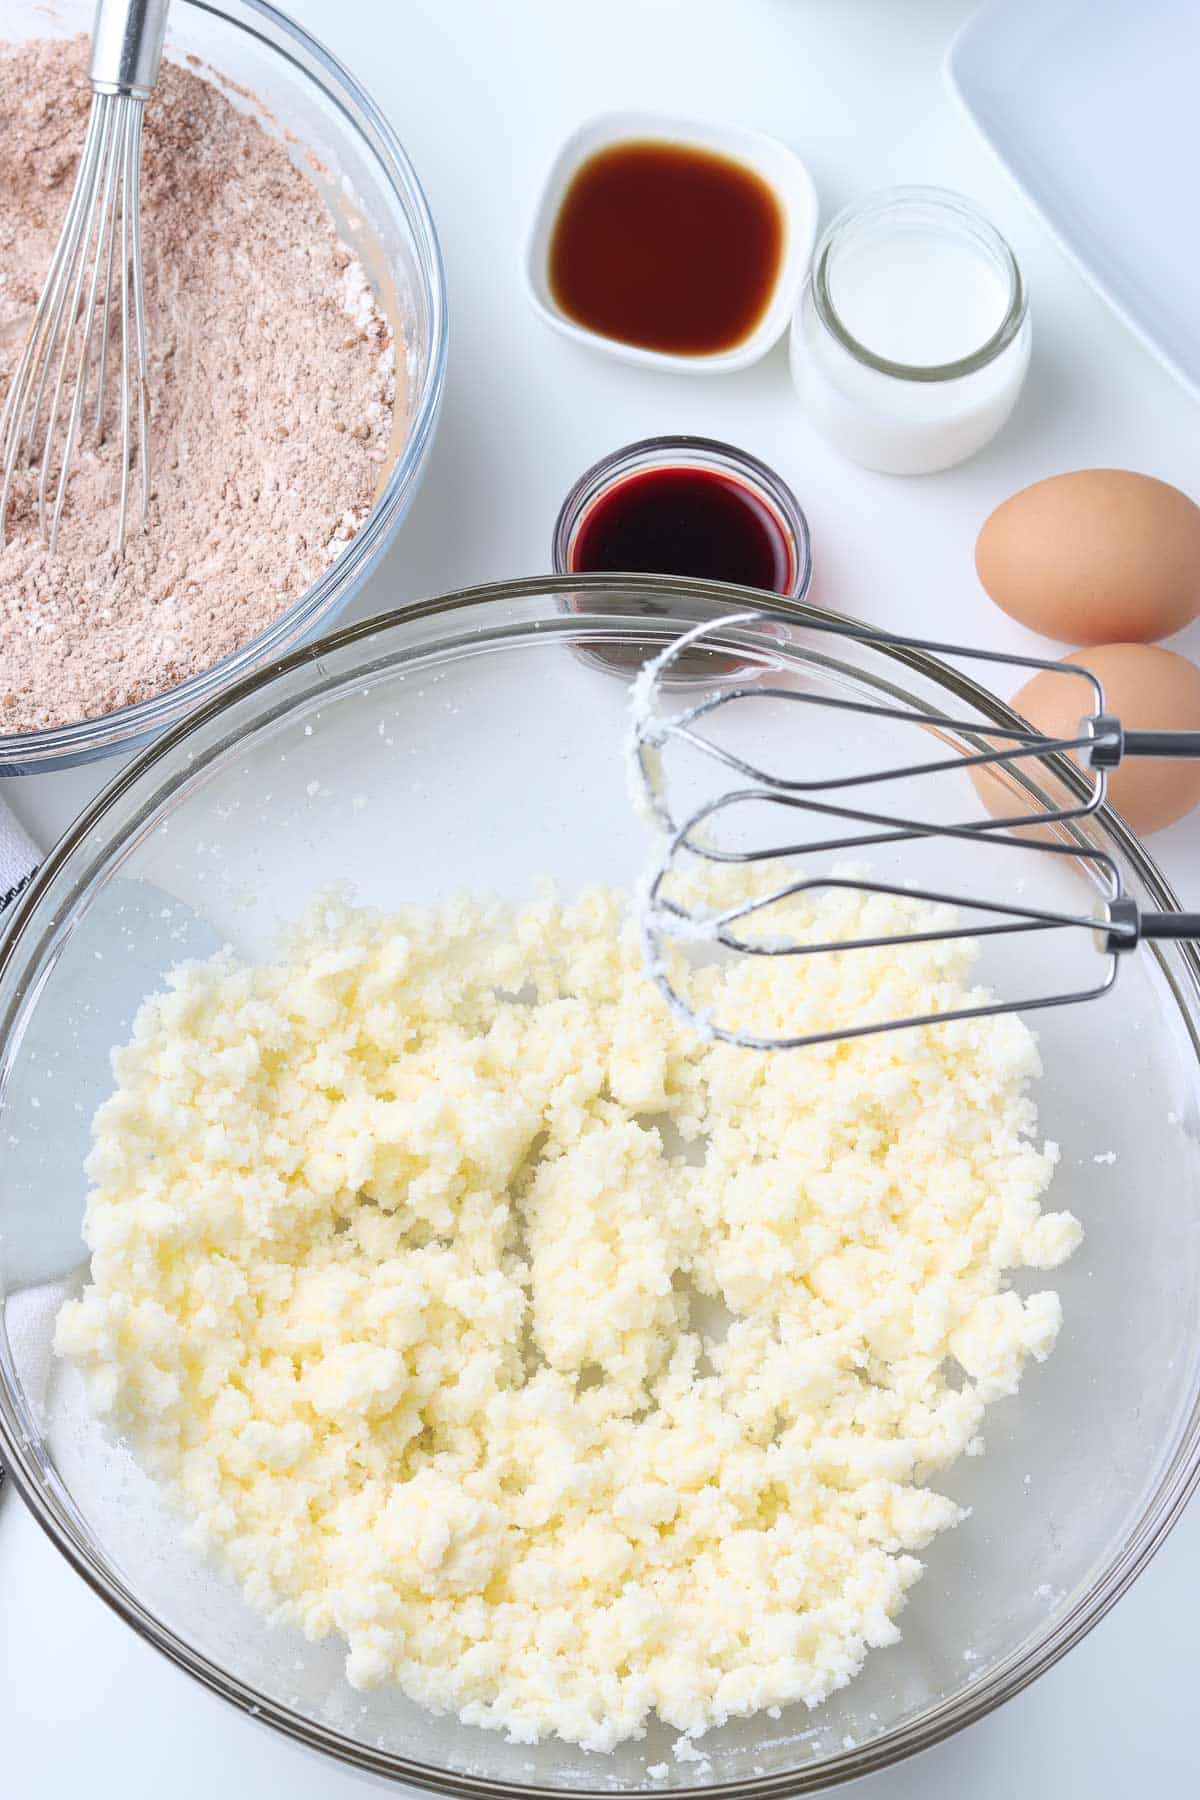
Step 2: Grab a separate large bowl and beat together the butter and sugar with an electric mixer on medium speed for about 3 minutes until fluffy.
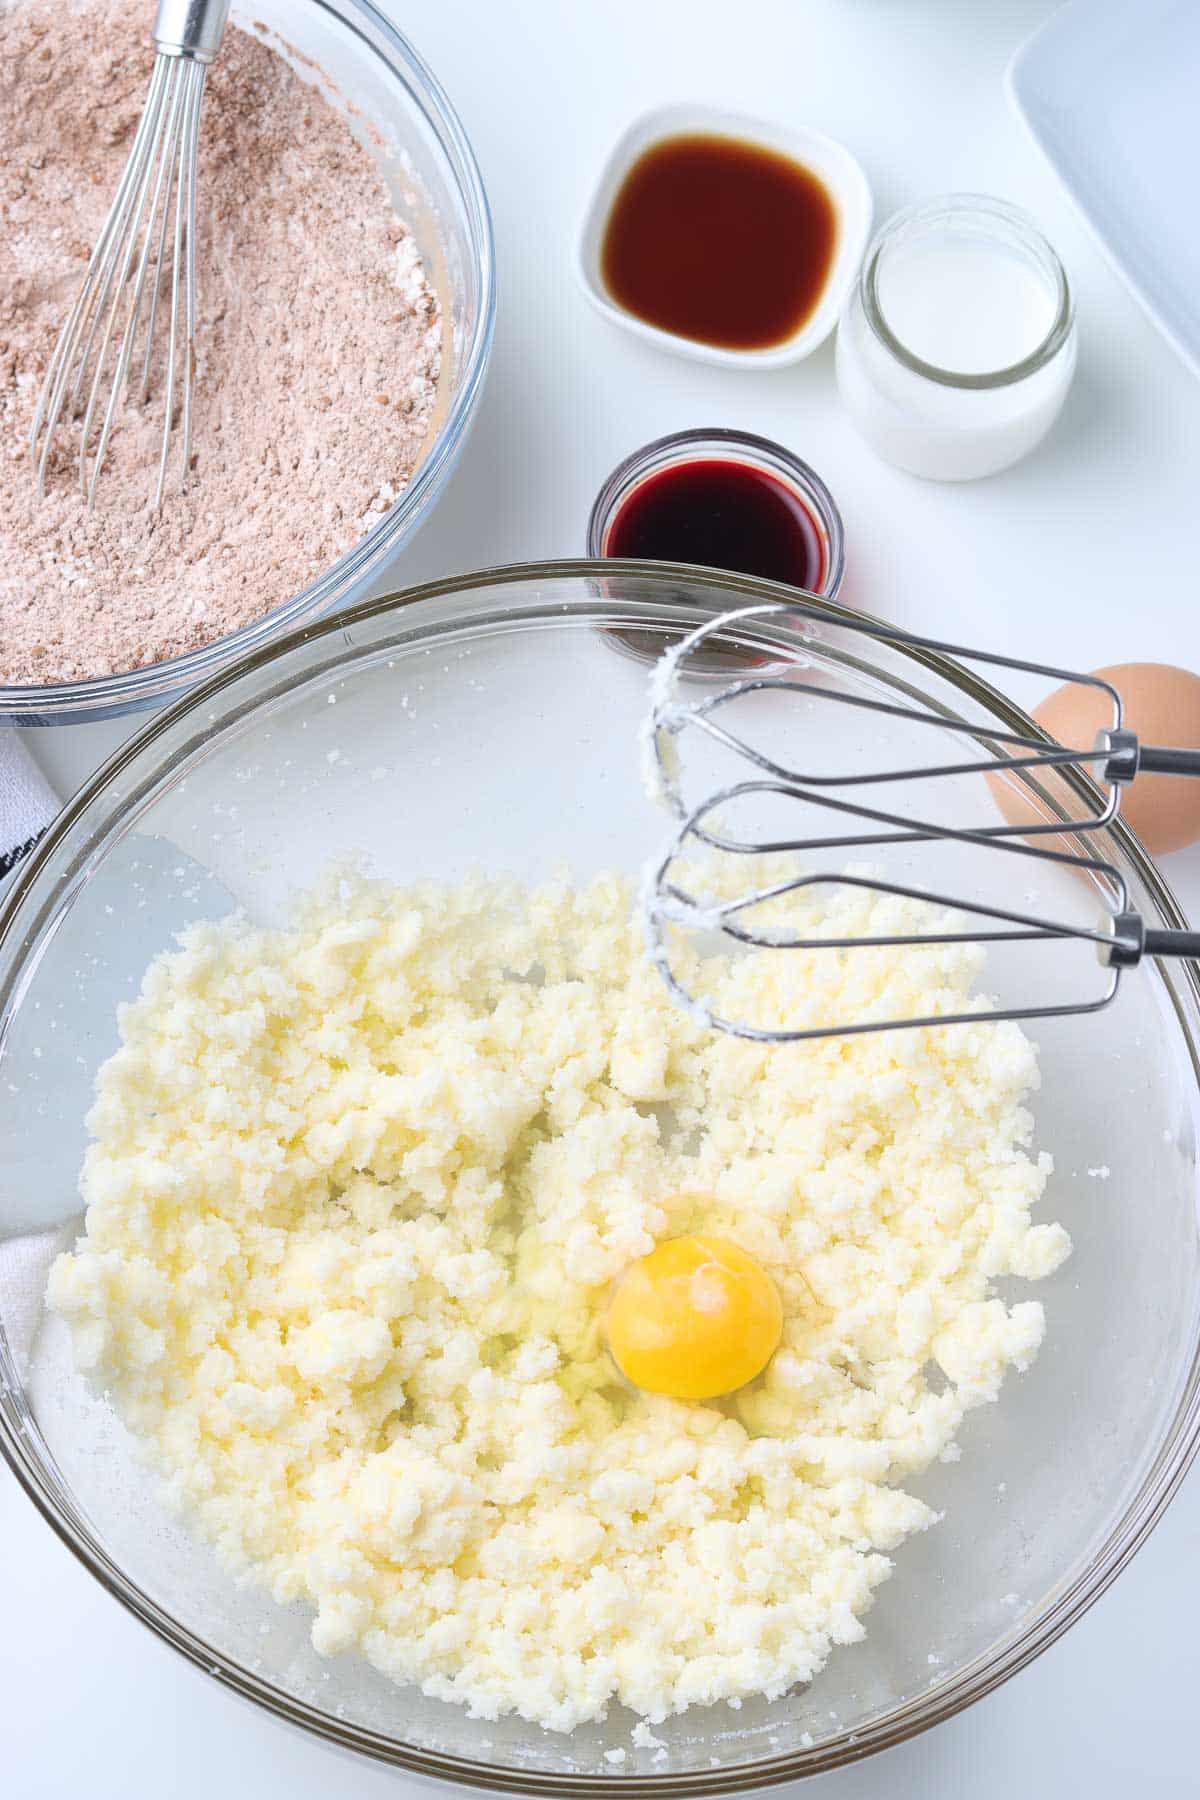
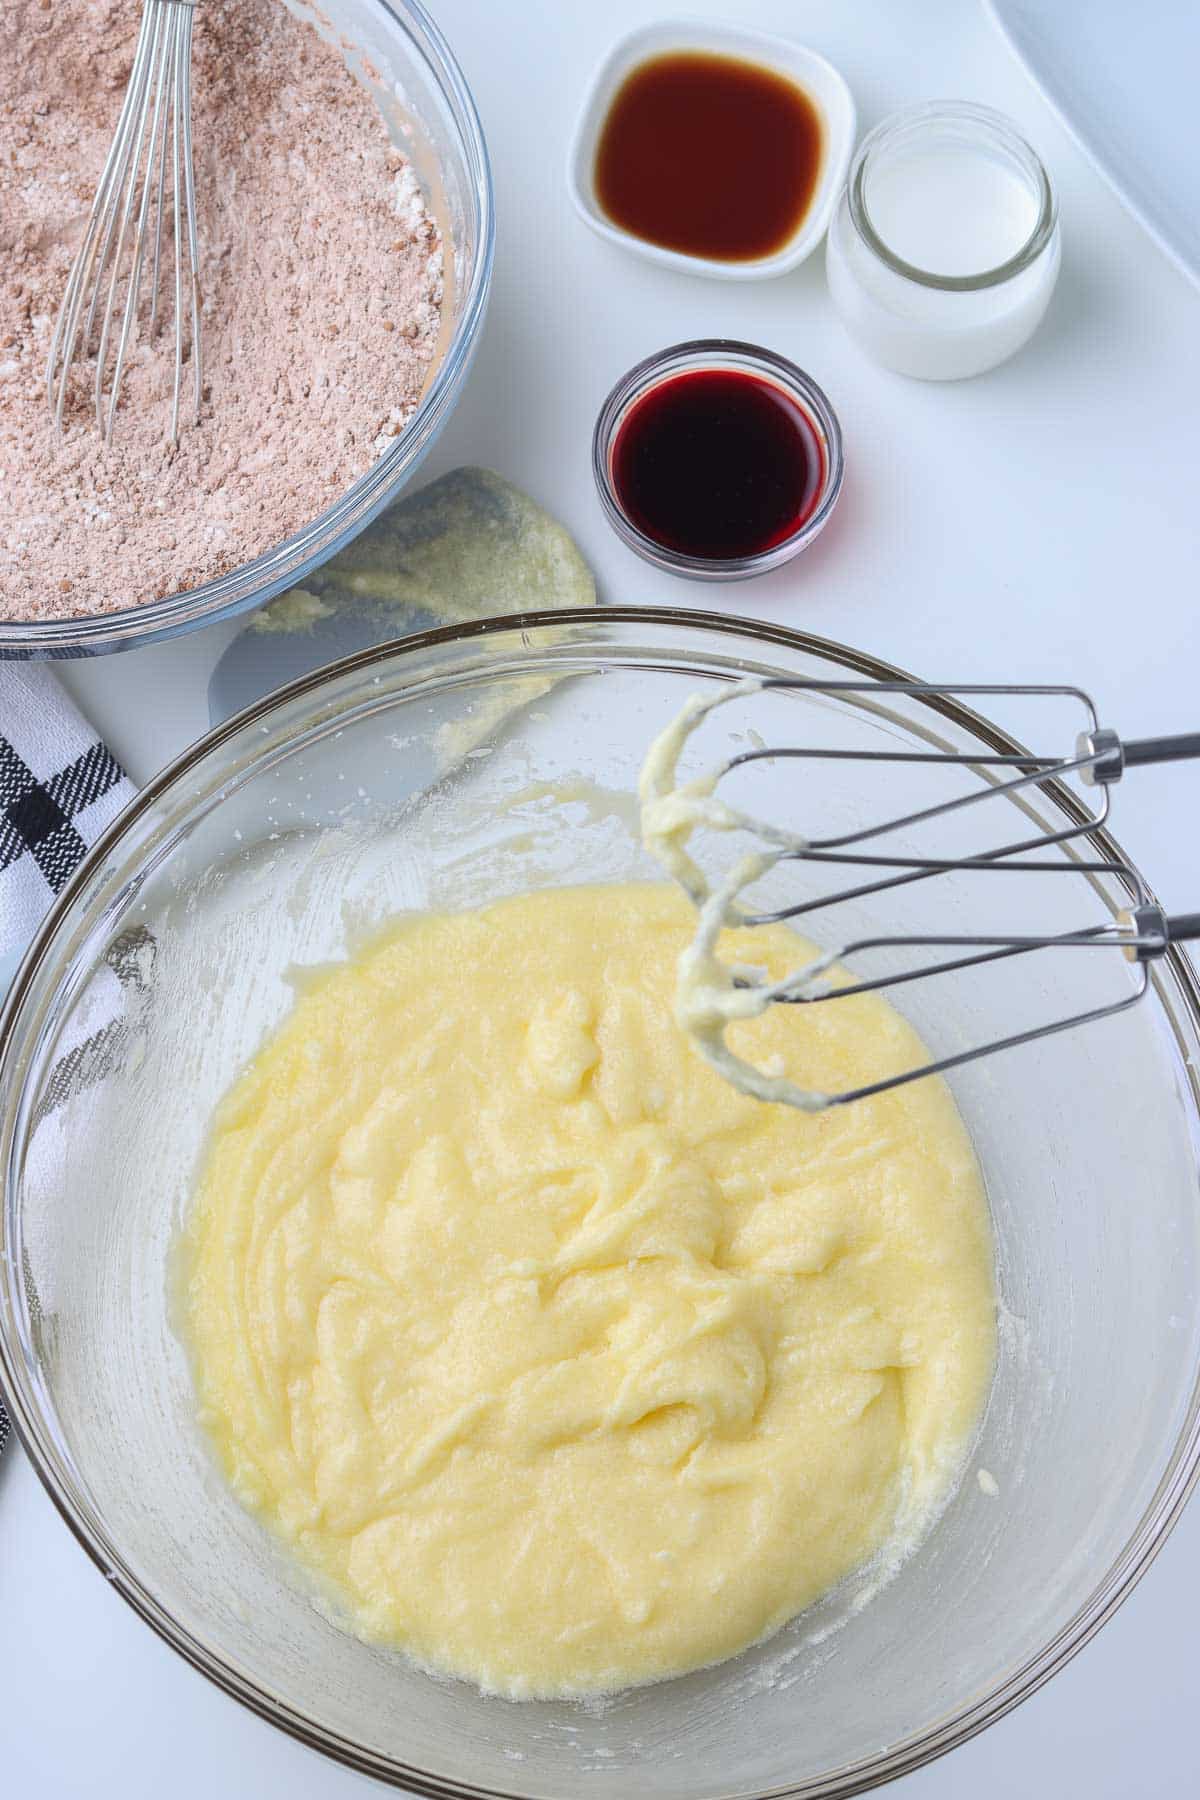
Step 3: Crack in the eggs one at a time, continuing to mix and scrape down the sides between each addition.

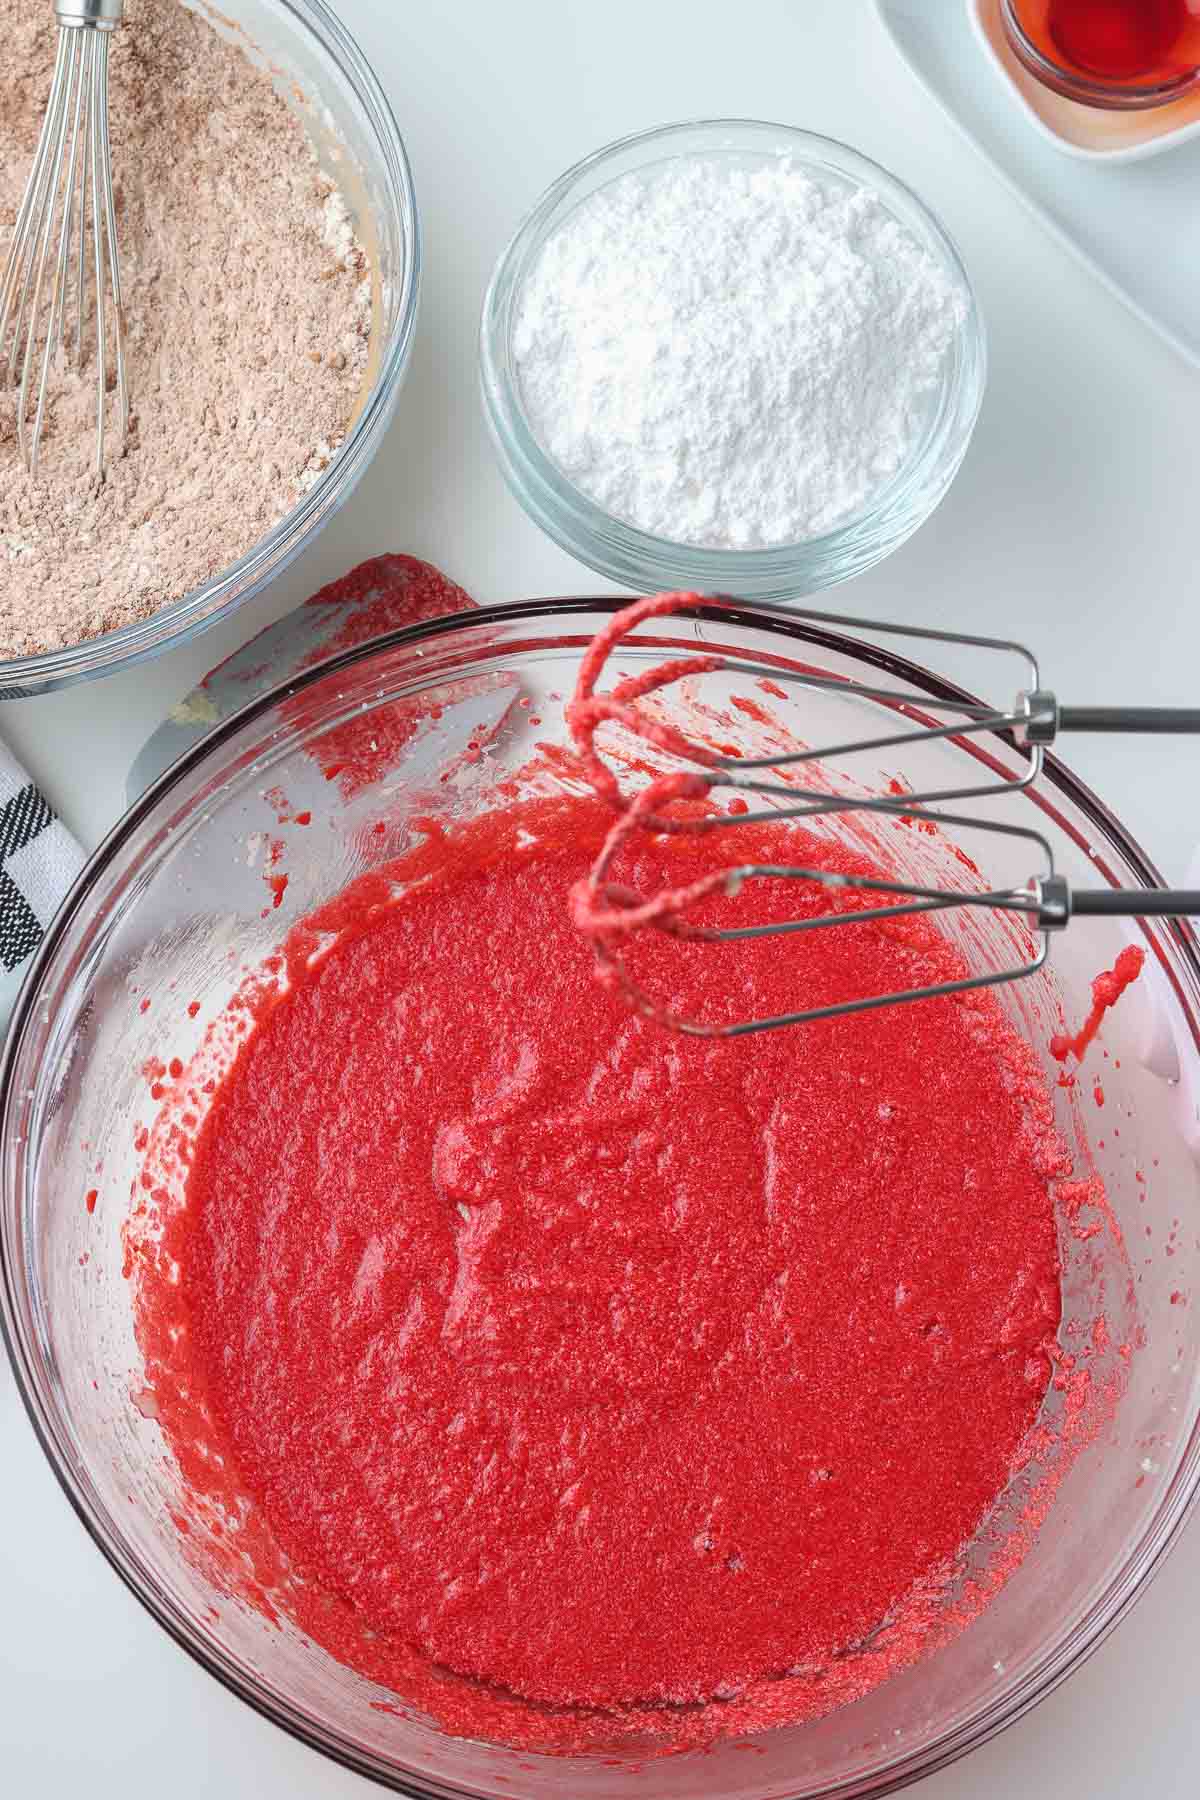
Step 4: To the wet ingredients, add the milk, food coloring, and vanilla and beat until the mixture is red and completely blended.
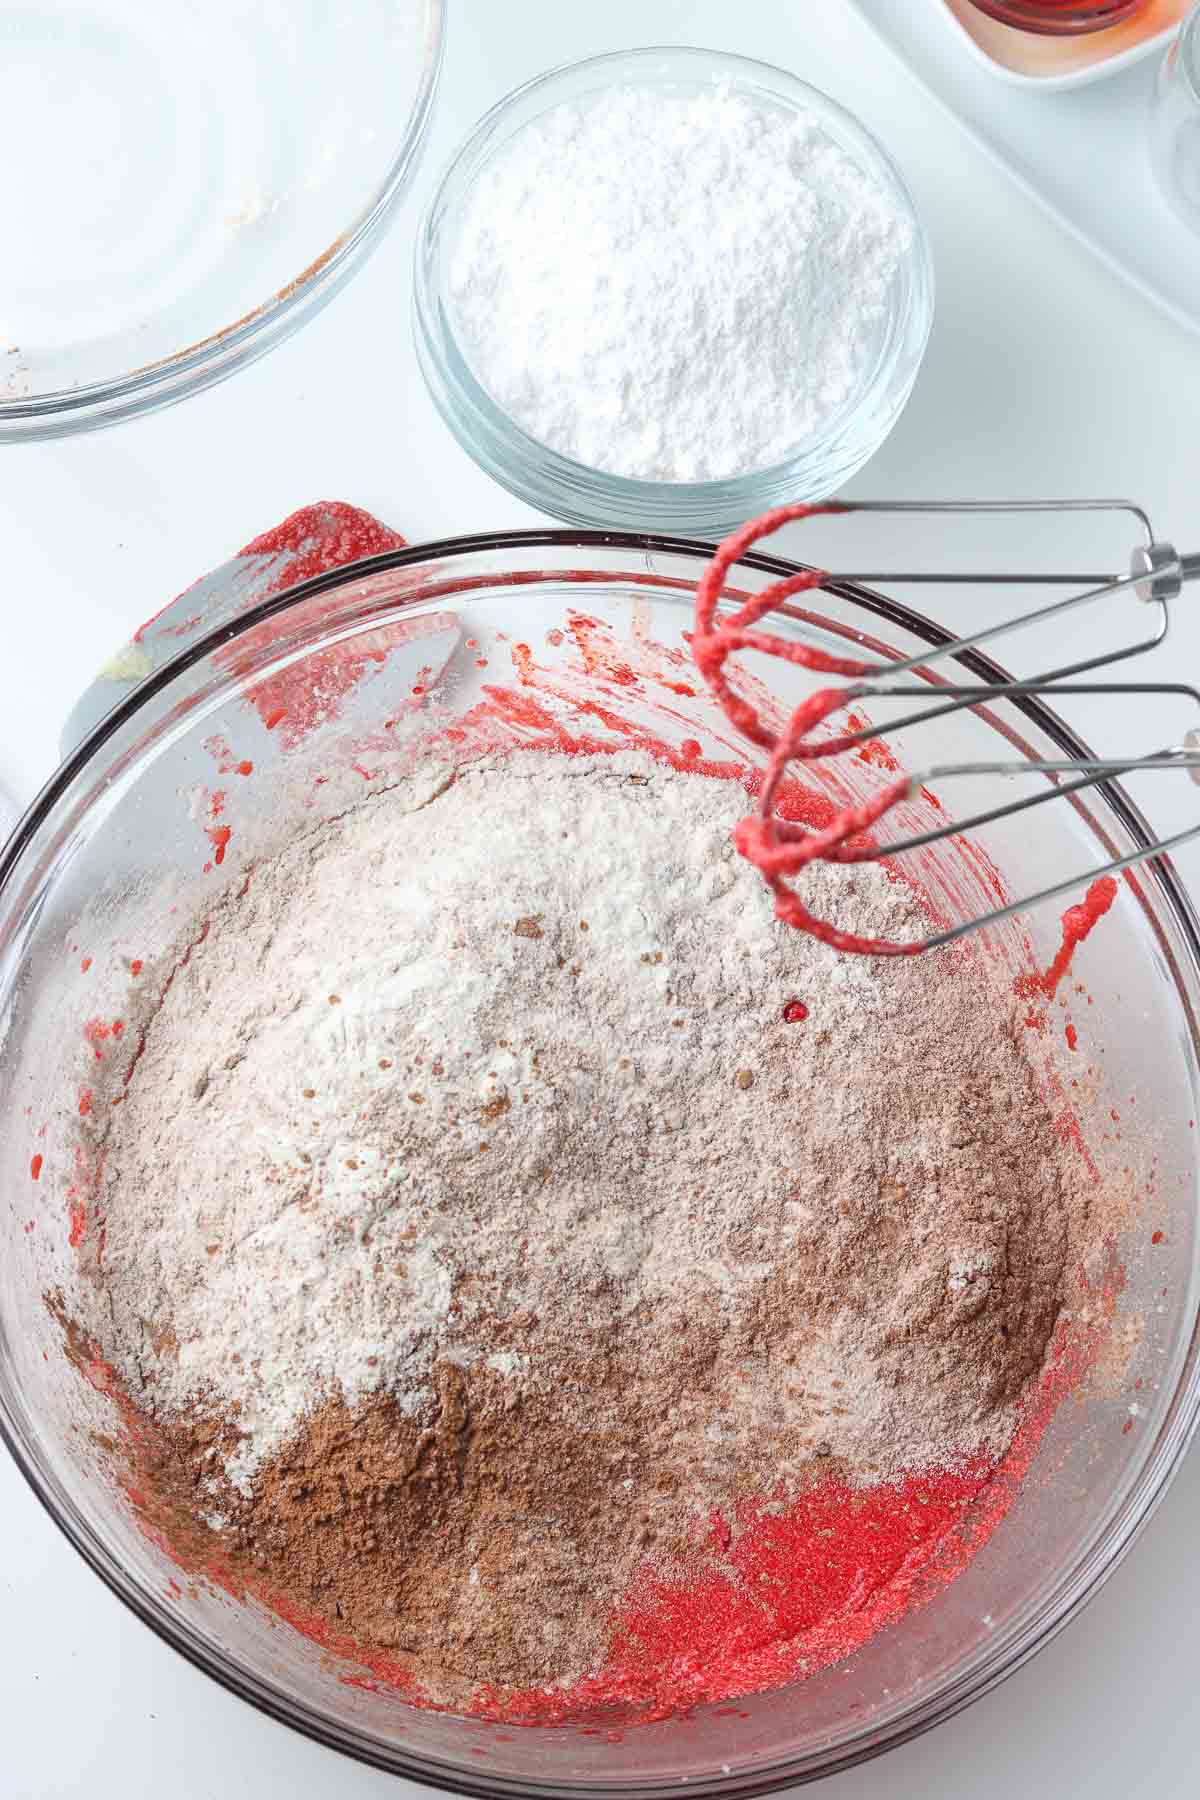
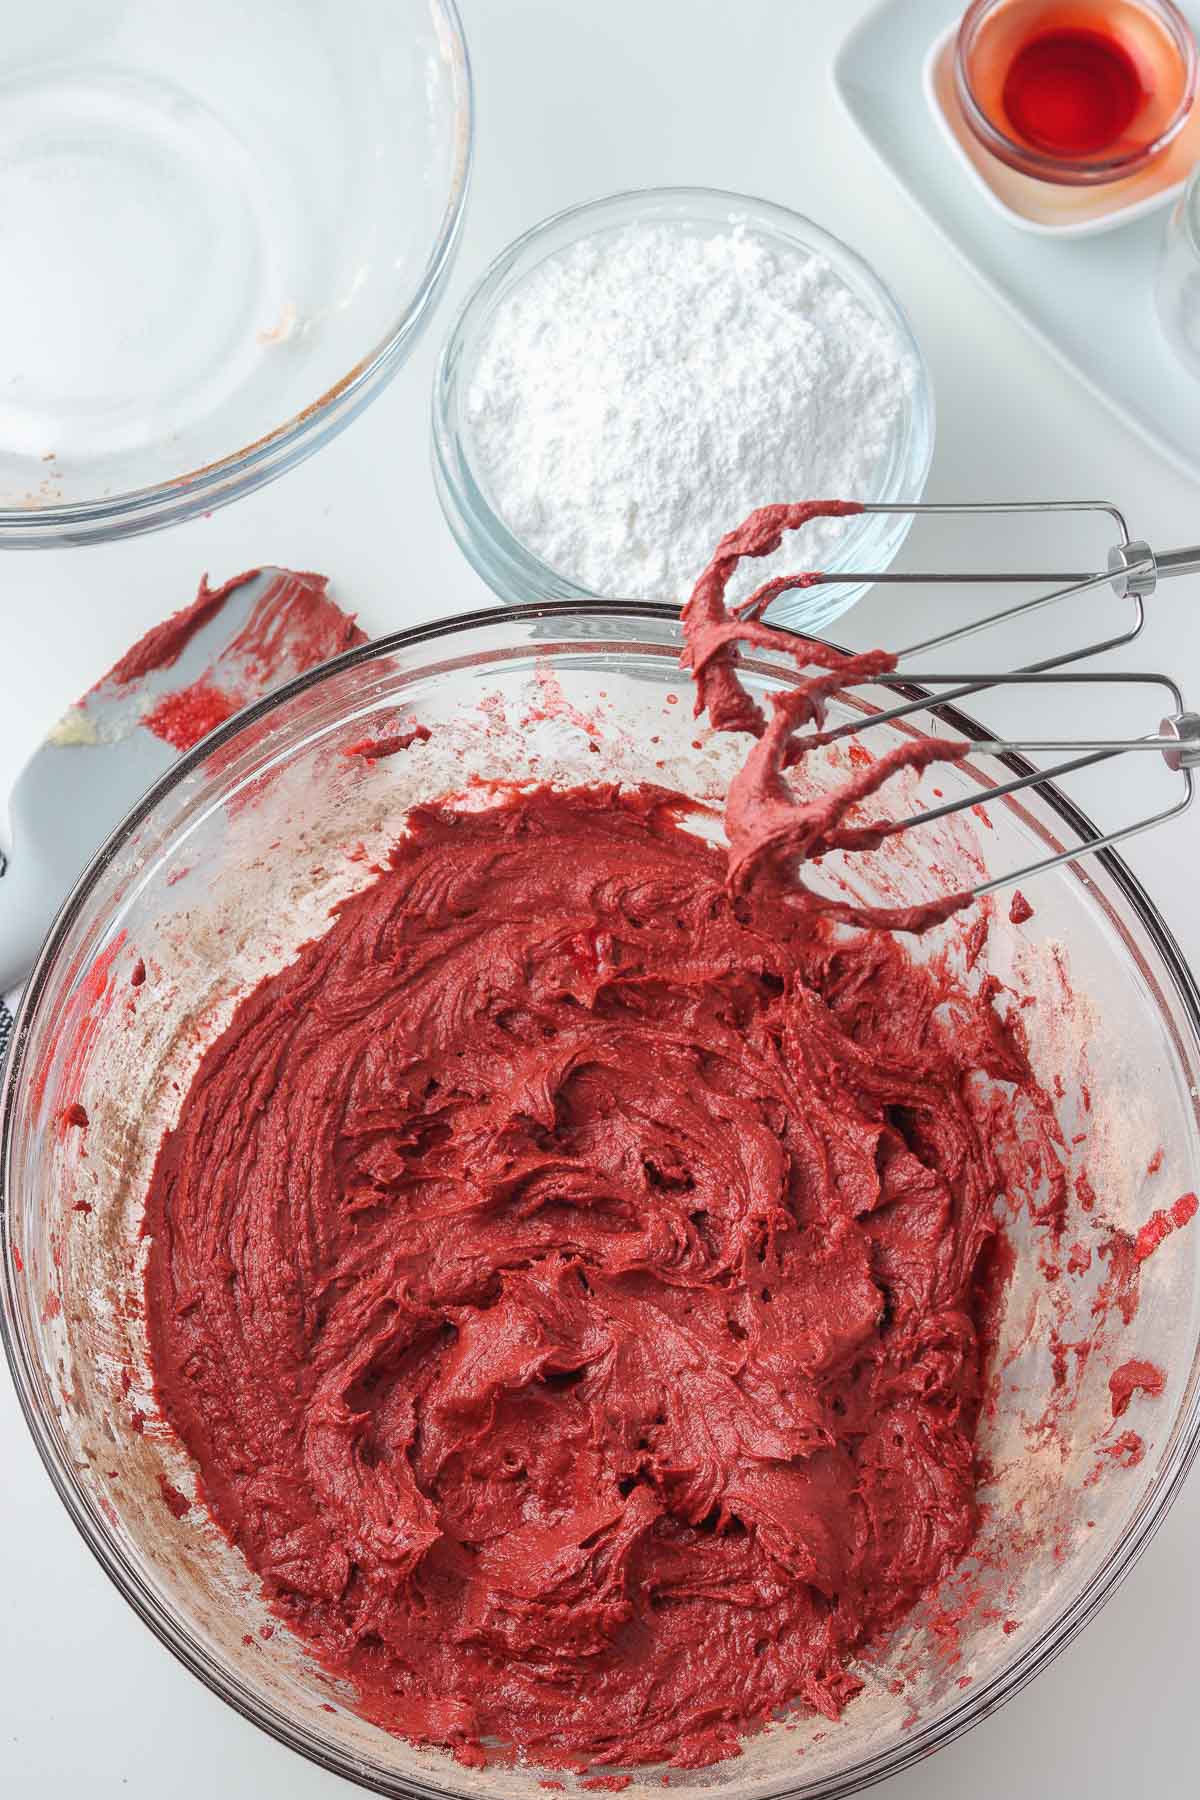
Step 5: Next, gradually add the dry ingredients to the wet mixture in batches, scraping down the sides as you go, just until the flour mixture is barely combined. Cover the bowl with plastic wrap and chill for at least 30 minutes.
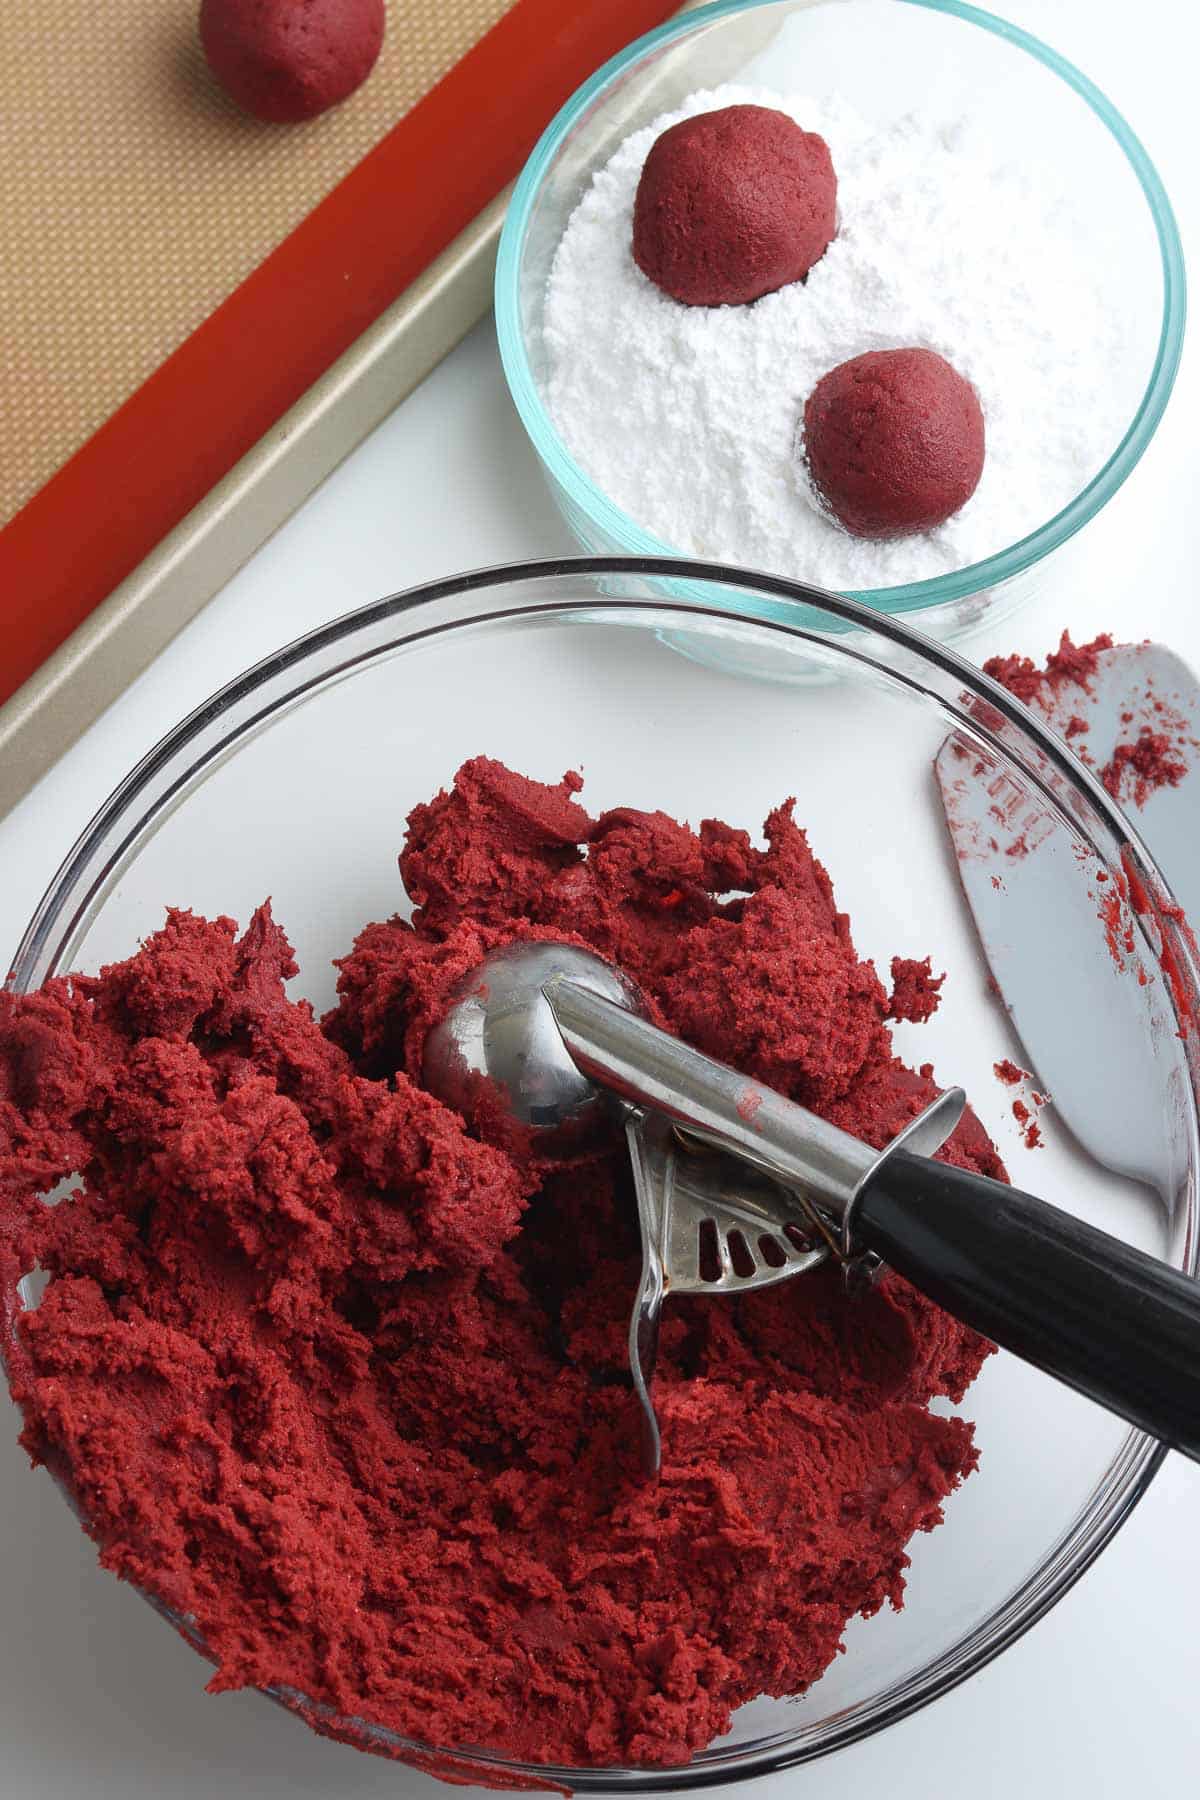
Step 6: Finally, use a 1-1 ½ Tablespoon cookie scoop to portion the dough and roll into small balls. Then roll the cookie dough balls into powdered sugar that’s has been placed in a small bowl or shallow plate. Then place them on a lined cookie sheet 2 inches apart from each other. (Use parchment paper or silicone mats to line)
Step 7: Bake in preheated 350° F oven for 12-14 minutes. Do not overbake! You want that deliciously gooey center, trust me.
Step 8: Allow them to cool for 4-5 minutes on the baking sheet before transferring them to a wire rack to cool completely.
Tips
- You can use a bowl and electric hand mixer or stand mixer with a paddle attachment if you prefer.
- Start with a bit of food coloring, but feel free to add more drops as you go until the desired color is reached.
- If you’re planning ahead, make the dough a day ahead and keep it chilling for up to 24 hours.
- Make sure to line your baking sheets so that your cookies don’t stick! A silicone baking tray is great for this as is parchment paper.
- If you skip the chill time (not the end of the world) keep in mind your cookies will spread a bit more. Therefore, it’s even more important to leave enough space between each one.
- Measure your flour correctly, that way you get the perfect consistency and texture in every bite.
Storing Homemade Crinkle Cookies
Keep them in an airtight container on the counter for up to 3 days. These do not need to be refrigerated.
Yes! These are great freezer-friendly cookies to keep from Christmas to Valentine’s day! Keep them frozen for up to 2 months in a freezer bag. Layer them with parchment paper so they don’t freeze stuck together.
I like to freeze cookie dough already formed in balls. That way, I can just thaw them, roll them in sugar, and bake them!
Once they are rolled up, flash and freeze them on a baking sheet for about 30 minutes to one hour so they’re solid. Then, place them in a freezer bag and keep them frozen for up to 2 months. Take what you need out to thaw overnight, then bake them for a simple dessert!
If you like this recipe, please leave us a comment and rate the recipe below. You can also find us on Facebook, Pinterest, Twitter and Instagram!

Red Velvet Crinkle Cookies
Ingredients
- 1 ⅔ cups all-purpose flour
- ⅓ cup unsweetened cocoa powder
- 1 ½ teaspoons baking powder
- ¼ teaspoon salt
- ½ cup unsalted butter 1 stick at room temperature
- 1 ¼ cups white sugar
- 2 large eggs room temperature
- 1 tablespoon milk
- 1 ½ teaspoons liquid red food coloring or ¼ teaspoon red gel food coloring
- 1 teaspoon vanilla extract
- ½ cup powdered sugar for dipping (more if needed)
Instructions
- In a medium bowl, add the flour, cocoa powder, baking powder, and salt and whisk together.1 ⅔ cups all-purpose flour, ⅓ cup unsweetened cocoa powder, 1 ½ teaspoons baking powder, ¼ teaspoon salt
- In a large mixing bowl, add the softened butter and sugar and beat with an electric mixer until fluffy, about 3 minutes. You an also use the bowl of a stand mixer with the paddle attachment.½ cup unsalted butter, 1 ¼ cups white sugar
- Add in the eggs one at a time, scraping down sides of bowl in between additions2 large eggs
- Add in the milk, food coloring and vanilla extract and beat until the red coloring is blended in thoroughly.1 tablespoon milk, 1 ½ teaspoons liquid red food coloring, 1 teaspoon vanilla extract
- Gradually add in the flour mixture in batches, scraping down sides of bowl as it is added.
- Place the dough in a bowl, cover the bowl with plastic wrap and place in the refrigerator for 30 minutes to chill. (it can be left in the refrigerator to up to 24 hours.
- Preheat oven to 350° F and line baking sheets with parchment paper (or a silicon mat).
- Add the powdered sugar to a medium sized bowl.½ cup powdered sugar
- Using a 1- 1 ½ tablespoon cookie scoop, scoop the dough and roll into a smooth ball and place the rolled dough in the powdered sugar and coated thoroughly.
- Place them on the lined cookie sheets 2 inches apart.
- Bake for 12-14 minutes
- Remove from the oven and let the cookies cool on the baking sheet for 4-5 minutes and then transfer them to wire cooling rack to cool completely.
Notes
Nutrition
Nutritional Disclosure
Nutrition information is automatically calculated and should only be used as an approximation.






Leave a Reply