

Follow this easy tutorial to make your own DIY Coffee Filter Wreath. It’s a cheap and easy way to add a beautiful accessory to your decor.

I am so excited to share this easy DIY Coffee Filter Wreath with you all.
I have been wanting to make this beauty for so long. I finally decided that since it this a whopping 16 degrees outside it would make the perfect way for me and my daughter to spend our afternoon.
And wait….most importantly! It is SO cheap to make. Ready for this. It cost me $5.43!! Honestly, if I didn’t want the pretty new ribbon I used to hang it, it would have cost me only $3.04. I already had my glue gun and the glue sticks.
You could spend a little more and buy a wreath base at your local craft store but my goal was to spend as little as possible. I saw them at Hobby Lobby for about $4.99.
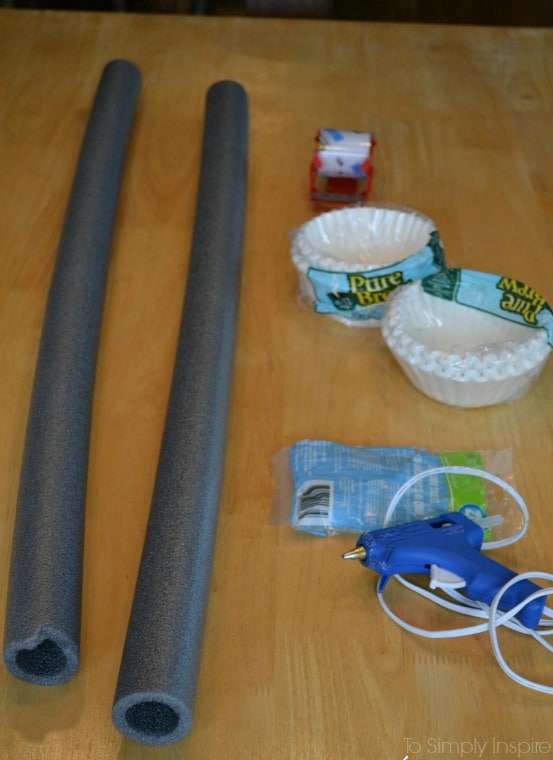
The supplies I bought:
(1) 6 ft ¾″ Pipe Insulation (Home Depot) – $1.28
(2) 100 ct. of Coffee Filters (Walmart) – $0.88 each
Wire Coat Hanger
Glue Sticks
Ribbon, if wanted to hang
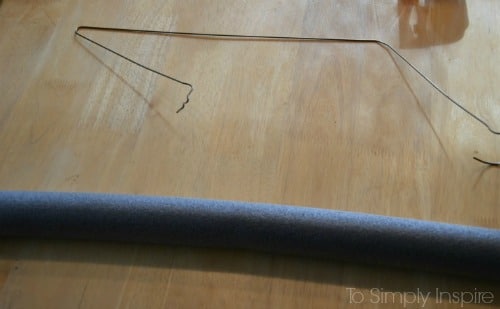
First, I cut the 6 ft long pipe insulation in half. You can actually make (2) wreaths if you buy one more package of filters.
Then, unwrap the coat hanger and straightened it as much as you can and slide it into one piece of pipe insulation.
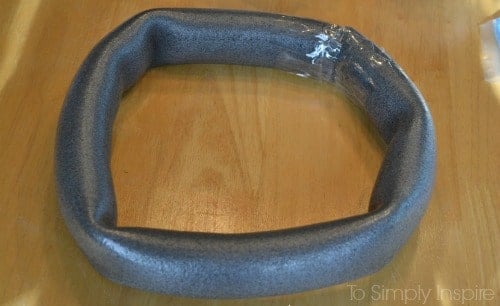
Next, form the tube into a circle and tape the ends together. (my daughter helped to hold it). I shaped it into the best looking circle I could. That’s the great part about putting the coat hanger inside of it.
It looks kind of wacky doesn’t it? I was a little nervous I would end up with a square looking wreath.
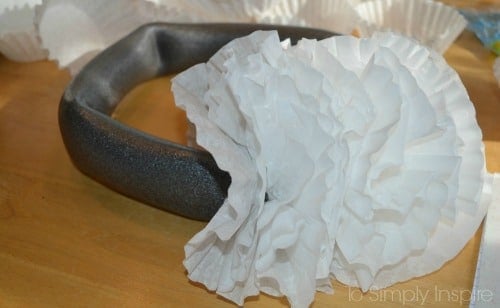
Now you are going to start gluing the coffee filters onto the base.
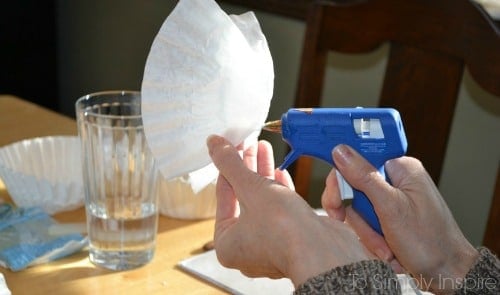
Fold the filter in half and then fold in the sides. Like in the following picture.
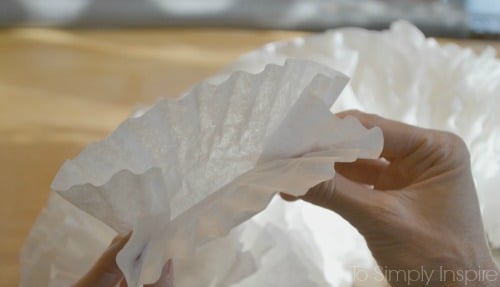
Apply a line of glue to the seam on the underside
Glue them on in sort of a pattern….Left, right, center. Keep gluing on the filters all the way around.
I tried to follow this pattern unless I saw a spot that needed more. It’s completely okay to add more.
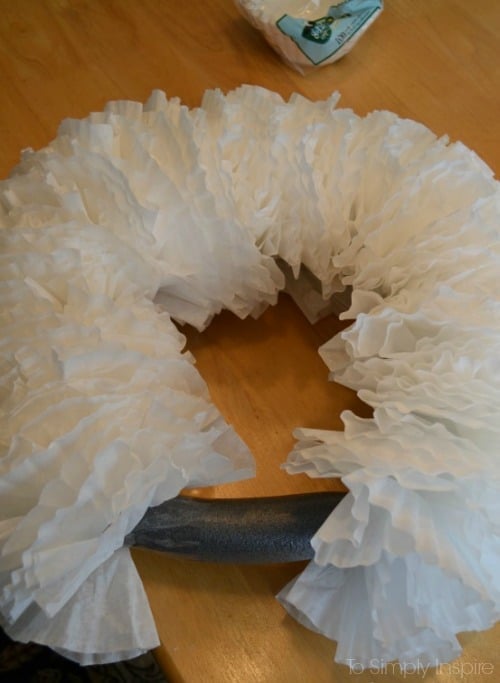
I used about 150 filters (out of the 200 I bought). The fuller the better.
Just continue on with the gluing around the entire circle.
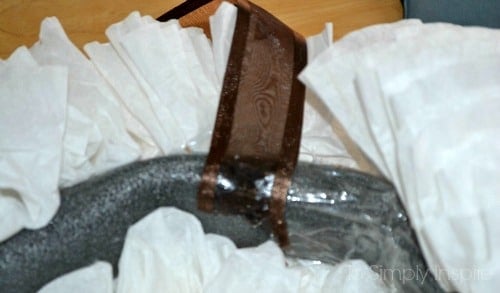
I wanted to hang it by a ribbon too. I do this with all of my wreaths! I love how pretty it looks with this little extra step.
I bought a whole spool of ribbon at Hobby Lobby for $2.39.
Cut a piece of ribbon double the length of where you want it to hang. Double the length, fold it and hot glue it onto the back of the wreath with the loop at the top. (not the prettiest picture but hopefully you can tell what I did)
Then I cut another long piece of ribbon to tie my bow. (I would say about 3 feet) I hung the wreath from a simple rubber suction cup that has a hook on it.
I am thrilled about how beautiful it turned out for so cheap to make!

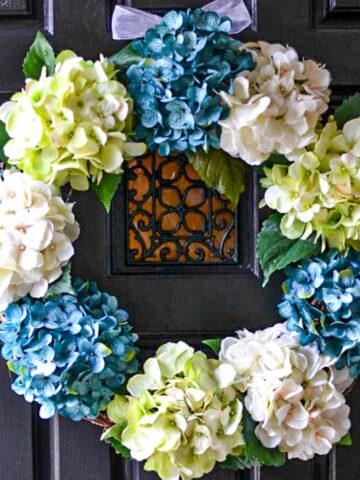
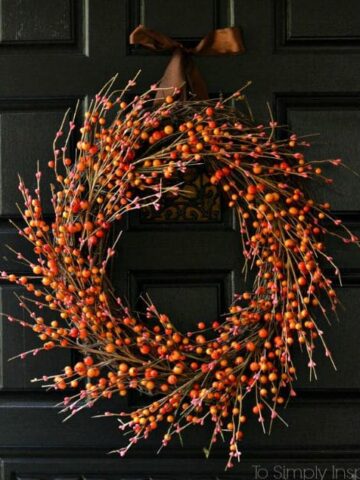
You may like these other DIY wreaths too:


Judy Ellis
I am anxious to try these beautiful wreaths.
judysag
You are really very creative..and talented to end up with such BEAUTIFUL
WREATHS. Thanks for posting pictures from start to finish..it makes every seem POSSIBLE. I haven’t gotten out for supplies yet, but when I do I’ll be
Thinking of you, Sherri. I hope my coffee filter turns out as delicate as yours!
Mary
I have checked out all your wreaths and have fallen in love with each, how smart you are with the coffee filter wreath and turned out just awesome. i have never really tried making a wreath but so want to make one of yours..Thank you so much, have a great day.
Bonnie @ The Pin Junkie
Your wreath is inexpensive to make but looks like a million bucks! Thanks for sharing it at The Pin Junkie. This fantastic project was one of the most viewed at last week’s party and featured at this week’s party. I hope you can stop by to grab a featured button and party with The Pin Junkie again at http://www.thepinjunkie.com/2014/01/friday-link-party-52.html