

Learn how to make DIY wool dryer balls with this east step by step tutorial. Reduce static and save money by tossing them in with each dryer load.

Making my own DIY wool dryer balls has been on my want-to-do list for so long. I read about them last year and was fascinated by the idea! I stopped using dryer sheets a while ago and have not used anything for months.
But now that the cooler weather is showing up, so is the static!!!
So, a couple of weeks ago while the boys were watching the Patriots game Sunday night, I decided it was the perfect time to make them.
I bought my yarn at JoAnn’s fabric using a 40% off coupon and paid only a little over $7.00 for one skein of yarn.
These would make a great little DIY gift idea for the Holidays as well!

There are so many great benefits to using DIY wool dryer balls:
- They decrease drying time
- There are no harmful chemicals and perfumes
- They last for years!
- They increase fluffiness or softness
- They reduce static
- They on't affect absorbency of towels
Supplies needed to make Wool Dryer Balls:

1 skein of 100% wool yarn (I used Fishermen's Wool yarn) or unravel an old 100% wool sweater you're not wearing
Old pantyhose or knee highs stockings
Scissors
Knitting needle or heavy duty sewing needle
Optional: essential oils if you’d like a scent.
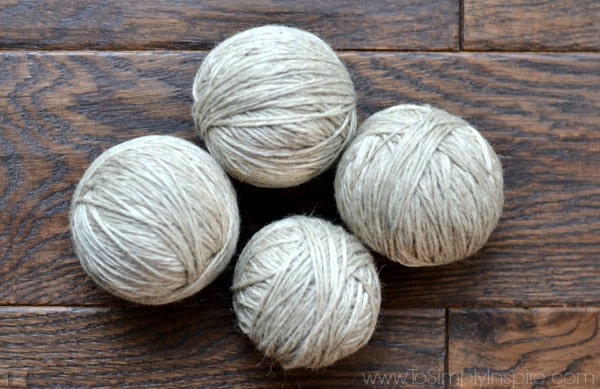
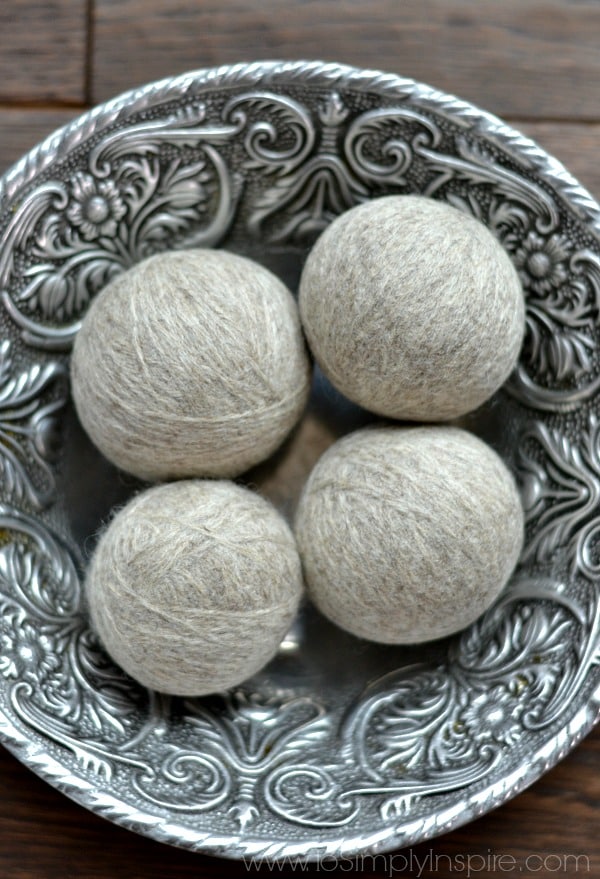
I made 4 dryer balls with one skein of Fishermen's Wool yarn.
IMPORTANT NOTE: You must use 100% wool yarn for the wool dryer balls. No blends, acrylic, no blend, or any that say "machine washable". Only 100% wool yarn will "felt" and not unravel when you use them the first time.

How to Make DIY Wool Dryer Balls
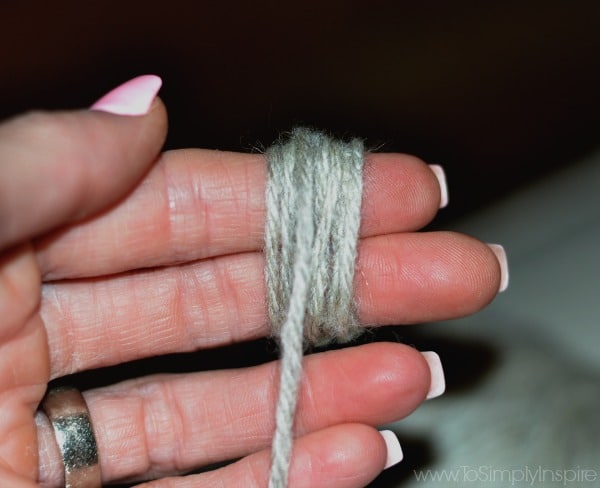
Start by wrapping the wool yarn around two fingers about 10 times
Then pull the yarn off your fingers and wrap across the middle of that about 10 more times.
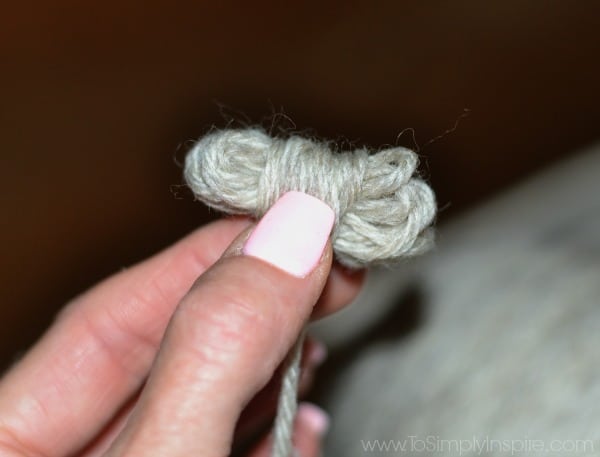
Continue wrapping yarn around 7-10 times each time you change directions as you move around forming a ball.
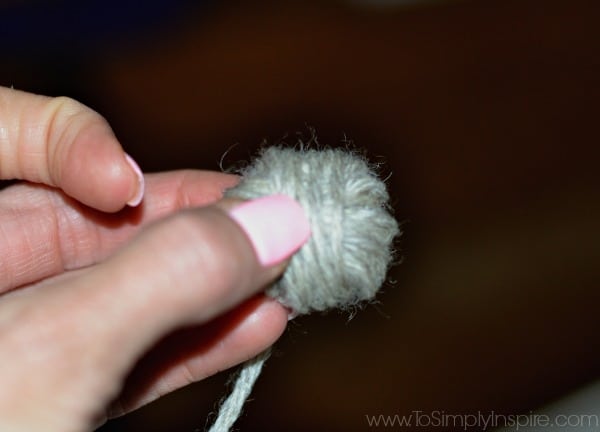
Continue wrapping yarn around the ball in different directions (at least 7-10 times before moving to a new location) until the ball of yarn is about tennis ball sized.
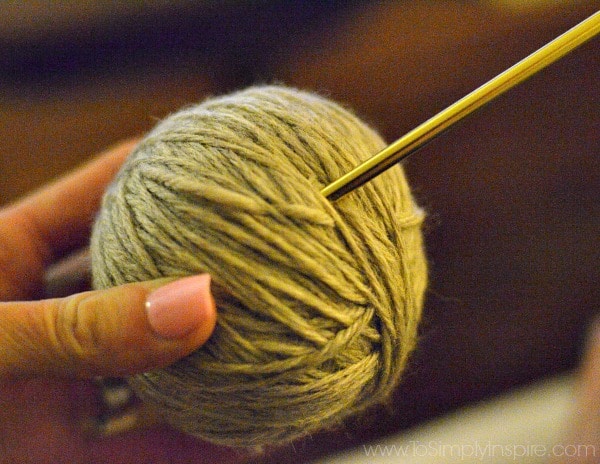
Cut the yarn with about a six inch tail. Tuck the end under several of the layers of yarn.
Then push it as far inside the ball as you can. (You can use a blunt-tipped needle for this if you have one handy)
Repeat the above steps to make additional dryer balls.
Someone in my house was SO interested in what I was making. Especially since it’s a BALL!
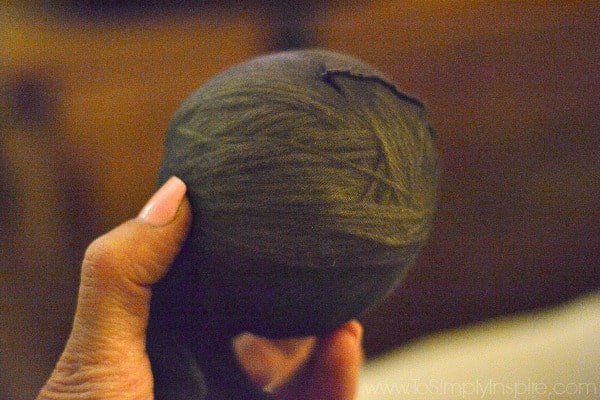
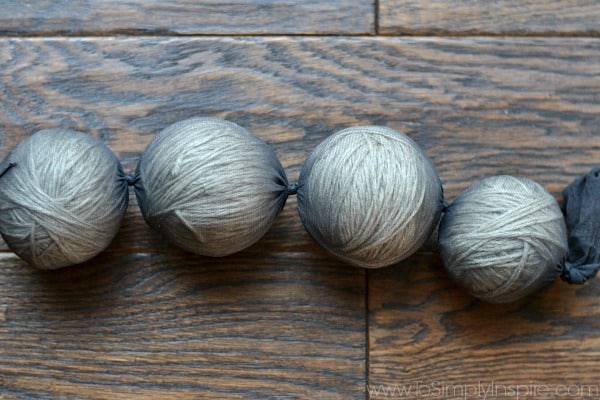
Once you have all the dryer balls made, place them one at a time into one of the legs of the stockings. Tie off in between each ball so they are separated like one big yarn ball caterpillar.
Felting the wool dryer balls
Toss the caterpillar string of wool balls into the washing machine with your next few towel or sheet loads and wash on HOT water and a cold water rinse cycle.
Dry the caterpillar on HOT as well.
You may need to repeat the washing and drying cycles several time before they are properly “felted” (up to 3 or 4 times)
For regular loads, use at least 4 balls to notice a decrease in drying time. For large loads, use 6 or more wool balls. The more you use, the more quickly your clothes will dry.
You can also add 1-2 drops of essential oils to each ball if you’d like. I would use a clear oil so there is no chance of stains.

How to Make DIY Wool Dryer Balls
Ingredients
- 1 skein of 100% wool yarn I used Fishermen's Wool yarn or unravel an old 100% wool sweater you're not wearing
- old pantyhose or knee highs stockings
- scissors
- knitting needle or heavy duty sewing needle
- optional: essential oils if you’d like a scent
Instructions
- Start by wrapping the wool yarn around two fingers about 10 times
- Then pull the yarn off your fingers and wrap across the middle of that about 10 more times.
- Continue wrapping yarn around 7-10 times each time you change directions as you move around forming a ball.
- Continue wrapping yarn around the ball in different directions (at least 7-10 times before moving to a new location) until the ball of yarn is about tennis ball sized.
- Cut the yarn with about a six inch tail. Tuck the end under several of the layers of yarn.
- Then push it as far inside the ball as you can. (You can use a blunt-tipped needle for this if you have one handy)
- Repeat the above steps to make additional dryer balls.
- Once you have all the dryer balls made, place them one at a time into one of the legs of the stockings. Tie off in between each ball so they are separated like one big yarn ball caterpillar.
Felting the wool dryer balls
- Toss the caterpillar string of wool balls into the washing machine with your next towel load and wash on HOT water and a cold water rinse cycle.
- Dry the caterpillar on HOT as well.
- You may need to repeat the washing and drying cycles several time before they are properly “felted” (up to 3 or 4 times)
- For regular loads, use at least 4-6 balls to notice a decrease in drying time. For large loads, use 6 or more wool balls. The more you use, the more quickly your clothes will dry.
- You can add 1-2 drops of essential oils to each ball if you’d like. I would use a clear oil so there is no chance of stains.
Nutritional Disclosure
Nutrition information is automatically calculated and should only be used as an approximation.
You may like these other DIY homemade items too:


Leave a Reply