Make this adorable DIY Fall Leaf Bowl with this easy step by step tutorial. It’s a wonderful Fall craft for kids to make!
I love simple DIY crafts! Now that it’s Fall there are so may great Fall crafts to make to add that pop of Autumn colors to your home. This gorgeous DIY Fall Wreath and this super easy Pine Cone Filled Vase with Lights are two other quick Fall decor crafts I think you will love too.
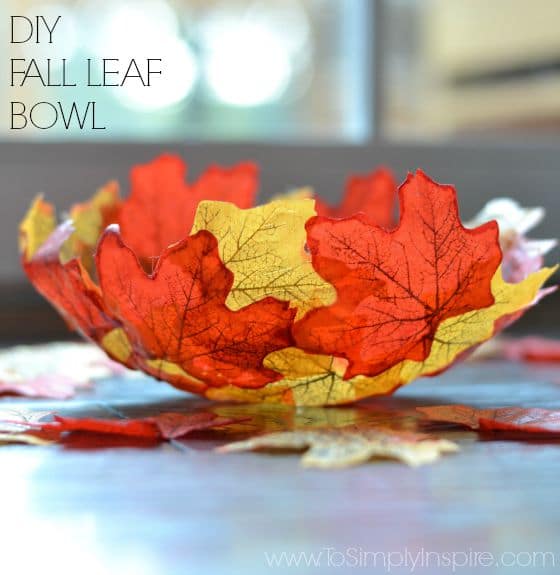
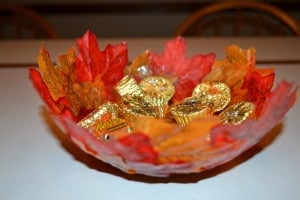
You can use your leaf bowl to hold candy or you could also place it around the bottom of another vase or bowl as an accent.
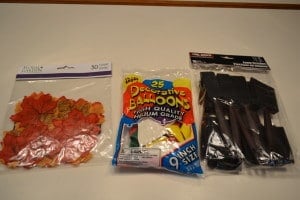
Materials needed to Make a Leaf Bowl
Loose leaves (or leaf garland that you detach)
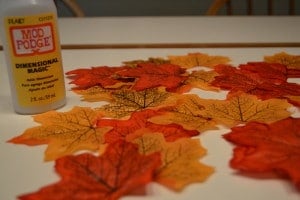
Mod Podge (matte finish)
Foam brush
Balloon
Bowl
We went to the Dollar Store and found a bag of 50 Fall leaves and a really big bag of foam brushes (for a $1.00 each!) We already had the Mog Podge to use to glue it.
I did find these 120 Artificial Fall Maple Leaves in a Mixture of Autumn Colors on Amazon if you have trouble finding the leaves. 🙂
How to Make This Leaf Bowl
To begin, blow up your balloon and tie it. Insert in, top-down into the bowl.
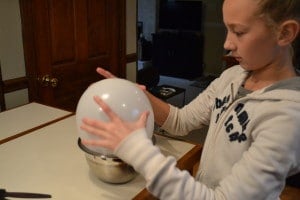
We made a little plate out of aluminum foil to put the Mod Podge on. (You would also use a bowl or cup)
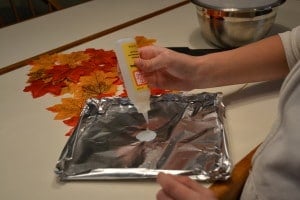
Spread the Mod Podge onto the balloon, starting at the top and working the way down about ¼ of the way down (or however “deep” you want your bowl).
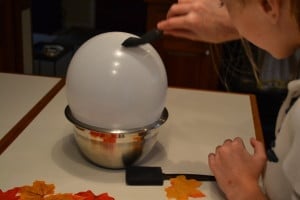
Apply the leaves one at a time, applying more Mod Podge to each leaf as you apply.
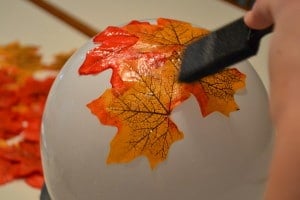
Cover the entire area you want for your bowl. Be sure not to leave any open spots.
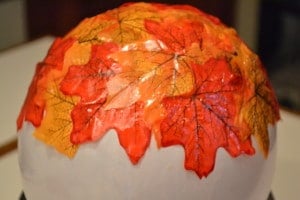
Let it dry for a couple of hours. We let ours dry for about 3 hours.
Then, you simply pop the balloon and carefully peel it away from the leaves.
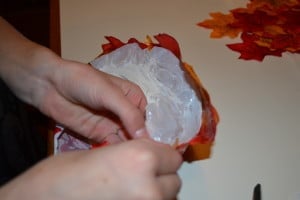
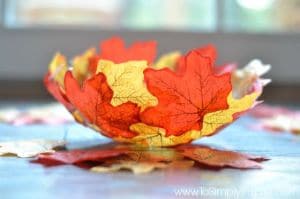
Voila!! Our beautiful little creation….. guess who ran to find something fun to put in it. 🙂
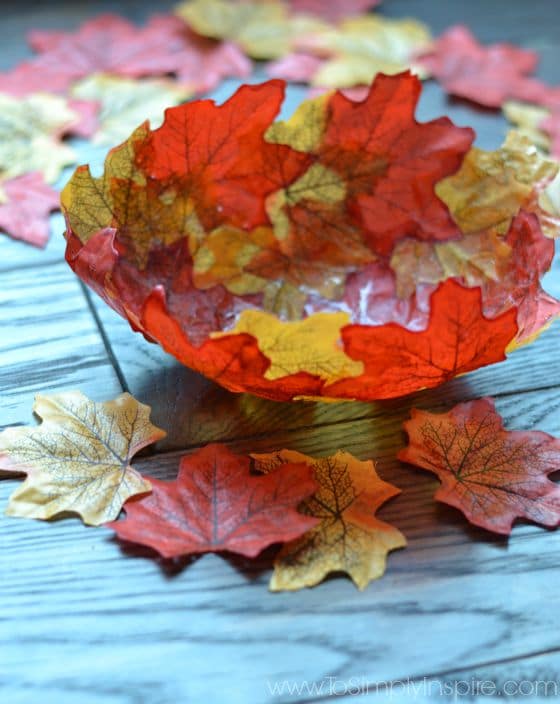
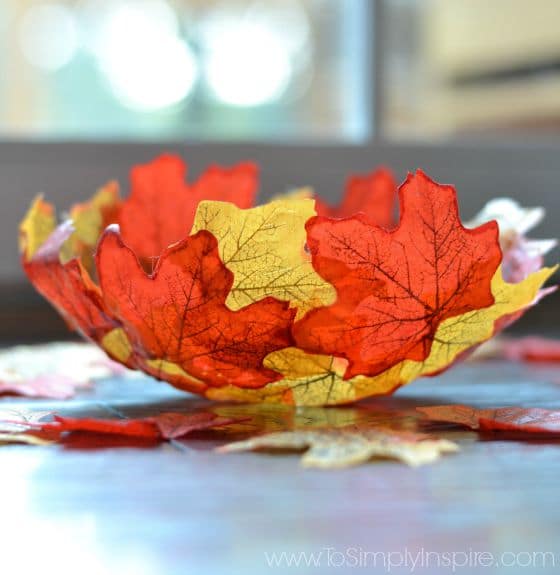
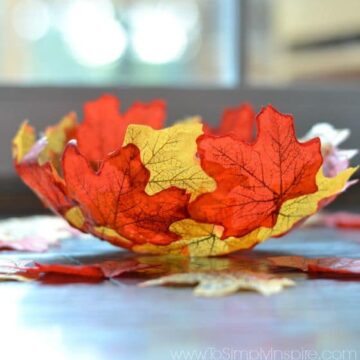
DIY Fall Leaf Bowl
Equipment
- Foam Paint Brush
- Bowl
Ingredients
- Balloon
- Modge Podge
- Artificial leaves
Instructions
- Blow up the balloon and tie it.
- Insert it, top-down into the bowl.
- We made a little plate out of aluminum foil to put the Mod Podge on. (You would also use a bowl or cup)
- Spread the Mod Podge onto the balloon, starting at the top and working the way down about ¼ of the way down (or however “deep” you want your bowl).
- Apply the leaves one at a time, applying more Mod Podge to each leaf as you apply.
- Cover the entire area you want for your bowl. Be sure not to leave any open spots.
- Let it dry for a couple of hours. We let ours dry for about 3 hours.
- Then, simply pop the balloon and carefully peel it away from the leaves.
- Fill it with candy or display little pine cones!
Nutritional Disclosure
Nutrition information is automatically calculated and should only be used as an approximation.




Barb Clough
We tried fake leaves but leaf veins were too thick to get leaf to lay flat. So, we ran outside and got a bunch of real fall maple leaves – the ones that just fell worked the best and laid the flattest! We also found a couple layers helped a bit
Pat
Tried this with my granddaughter, leaves didn’t lay flat or stick with Mod Podge, complete failure, very disappointed. !!
Jackie
I really wanted to like this, but it absolutely does not work, purchased everything on here and I’m still asking myself how in the world she got the leaves to stay on the balloon while applying the mod podge because I can tell you it did not work
B Driver
This was a complete flop! I had all the exact items, was so disappointed! Now I’ll try to find something else for my senior adults to make with the 1000’s of leaves we have.
Margaret Ita Coleman
Absolutely fabulous and so simple for beginners
B. Driver
Please share with me how you got this to work, I had all the exact items, followed the directions to a t and it was a flop. after drying for more than 12 hours, the “bowl” would not hold it’s form, the modge podge was tacky though completely dry. Can you offer a suggestion please?
Marlene Orben Orben
I am going to do this ❤️
Linda
Try doing more than one layer.
Stacey
We did our today let our dry over night it went ok only down fall was it was a bit floppy
Jesann
Beautiful
Celeste
From the photo it looks like mod pod get dimensional magic was used not plain mod podge
Karen
very creative