Easter Rice Krispie treats are bright, colorful, sweet, and gooey fun dessert! They’re as easy to make as your traditional rice Krispie treats but with a festive Easter egg shape twist!
Table of contents
Easter Egg Rice Krispie Treats
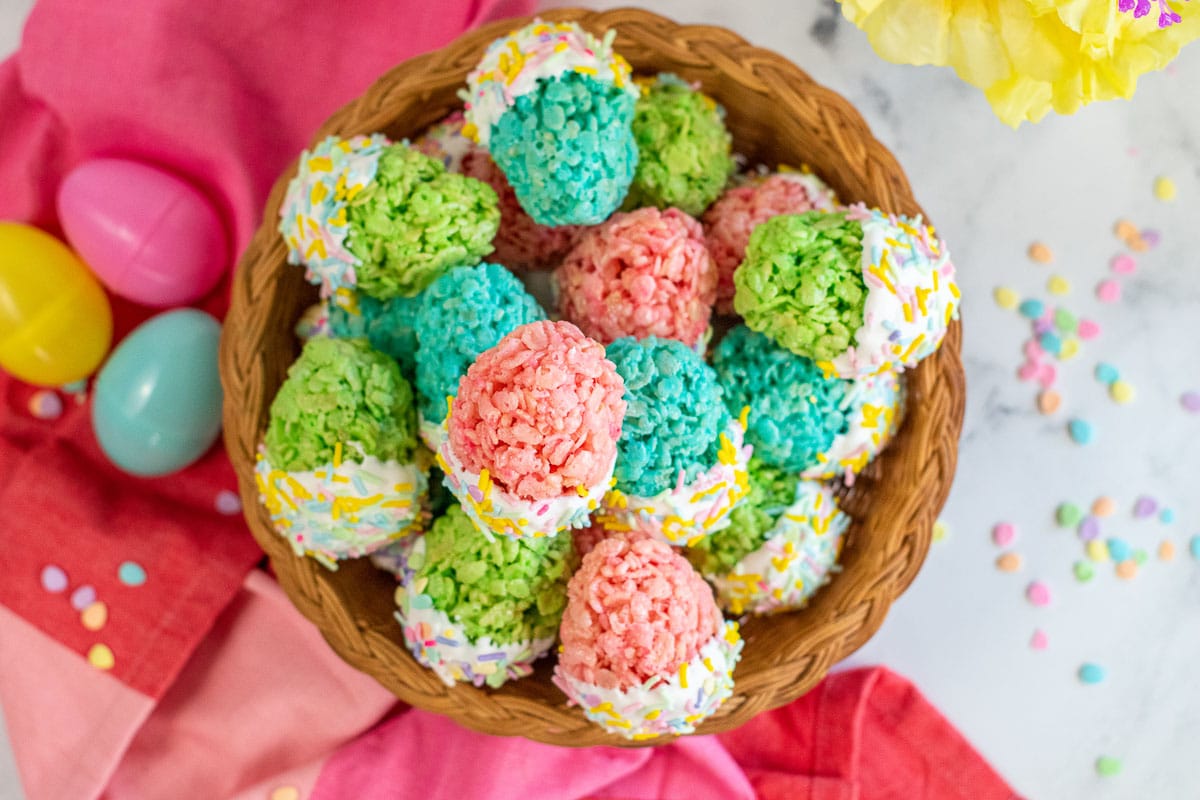
Easter rice Krispies are so cute to look at and possibly even more fun to eat! These are the kind of no bake treats you want to keep handy because they’re bound to become a yearly tradition in your family like they are in mine! They’re easy to make and a great activity to get the kids involved in because once the marshmallow mixture is made, it’s just a matter of molding them into Easter eggs with the option of dipping them in chocolate. Make them into regular sized or mini eggs if you prefer.
They’re a festive and colorful sweet treat that can be whipped up on a whim and they take so few ingredients that there’s a good chance you have everything you need right now! They’re sweet and crispy just like your everyday rice Krispies with added whimsical pastel food coloring! You can use as many colors as you’d like in this or just stick with one. I like to have a variety of at least 3 so I work in batches and sample along the way!
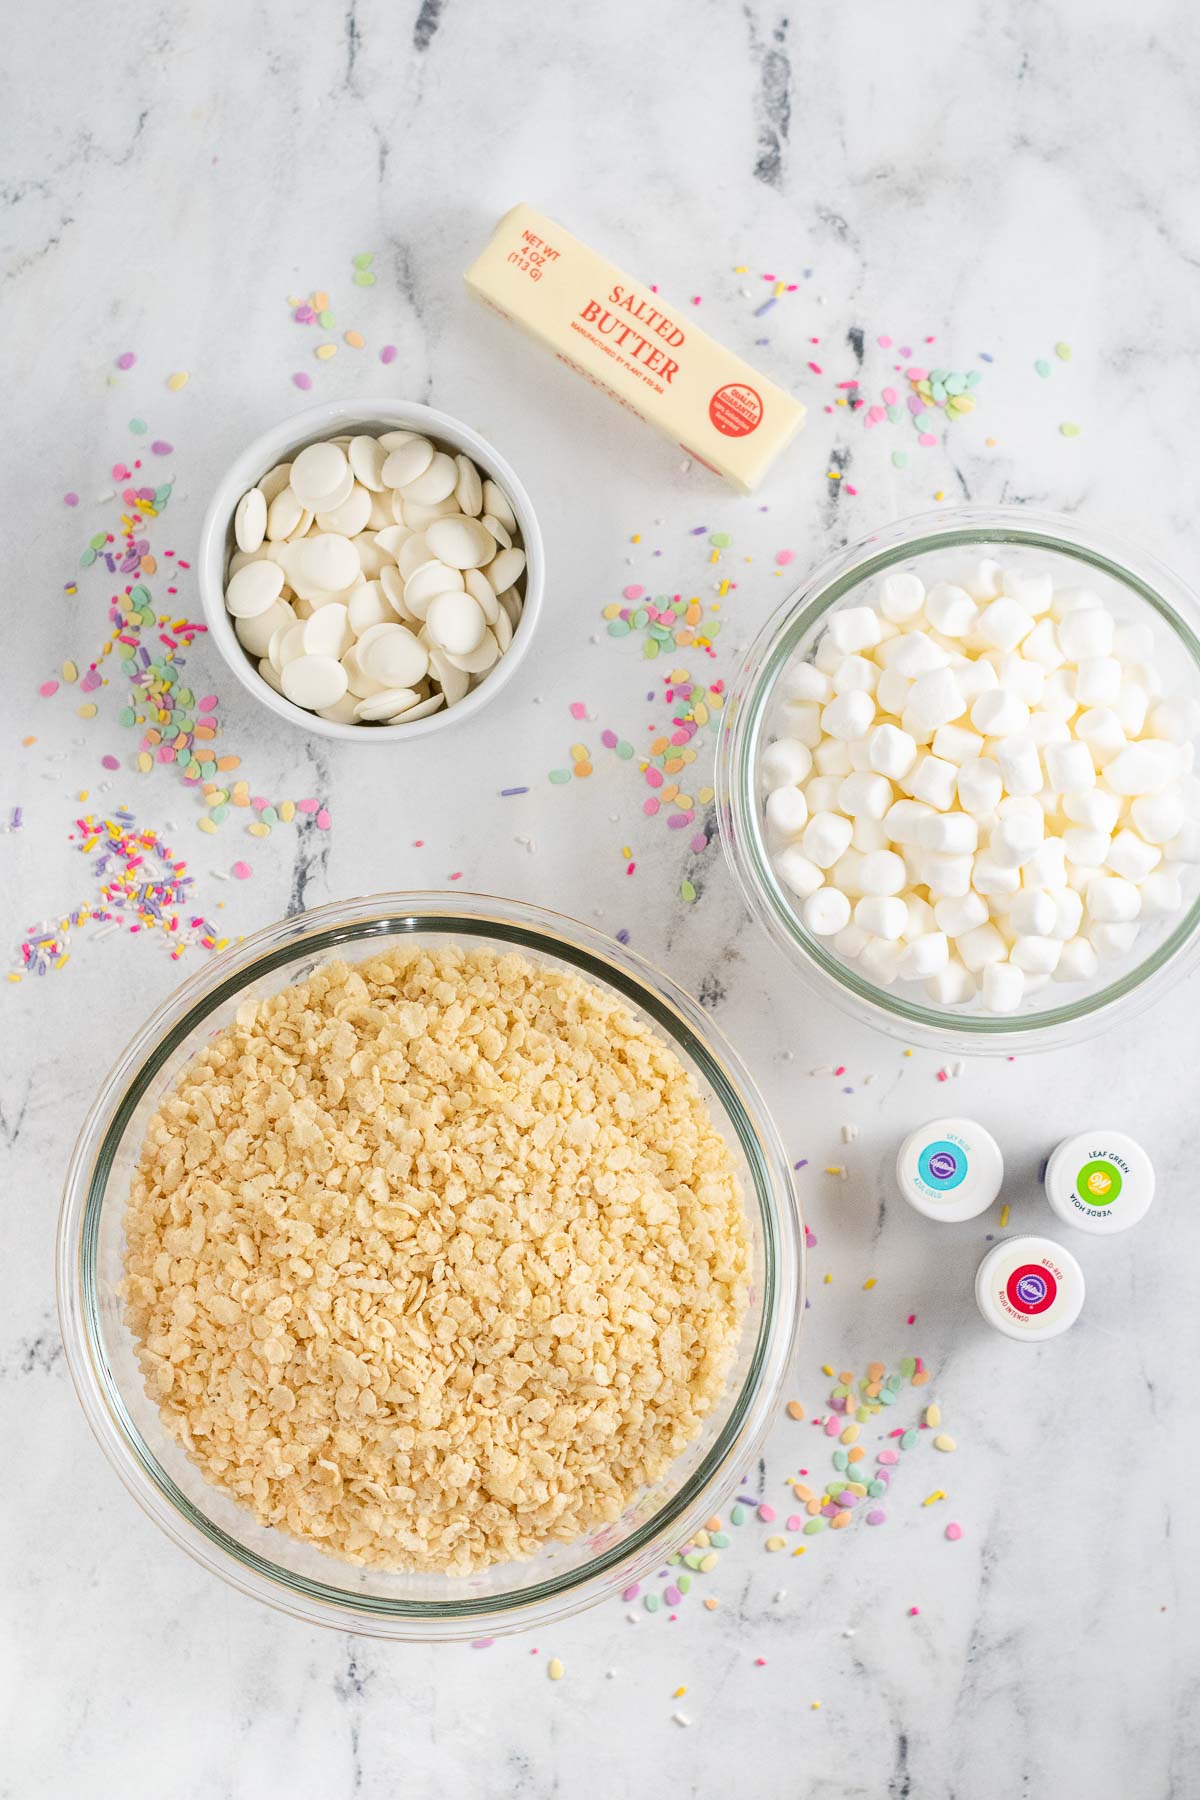
Ingredients/shopping list
The amounts listed in the ingredient list on the recipe card are based on making a separate batch for each of the 3 different colors
- Butter – You can use salted or unsalted, it’s up to you.
- Marshmallows – I use mini marshmallows because I find it easier to measure correctly, but if regular marshmallows are what you’ve got, go ahead and use them.
- Rice Krispies cereal – Light, crispy, and airy, which makes these Easter treats easy to bite into.
- White candy melts - Once melted they’ll be used to dip the bottoms of the Easter eggs. You can also use white chocolate chips.
- Easter sprinkles – Colorful sprinkles that come in lighter pastel colors, like mint green, light blue, soft pink, yellow, etc.
- Food coloring – Very flexible and totally up to you. As shown in the pictures I used green red and blue. The result depends on how many drops you add.
How to Make these Rice Krispie Treats for Easter
This recipe will come together in a few simple steps. One batch of Easter treats for each color and you’re all set!
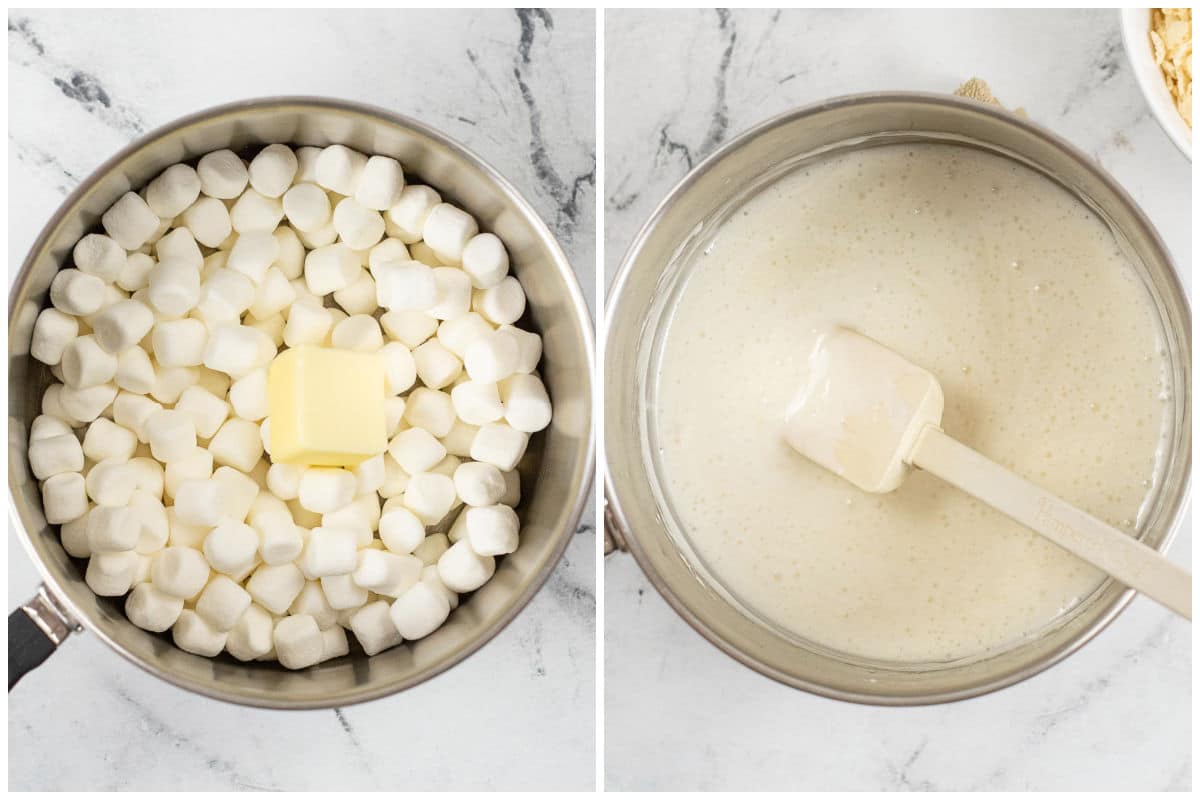
Step 1: Melt butter in a large saucepan over medium-low heat and add marshmallows. Stir frequently with a rubber spatula until melted.
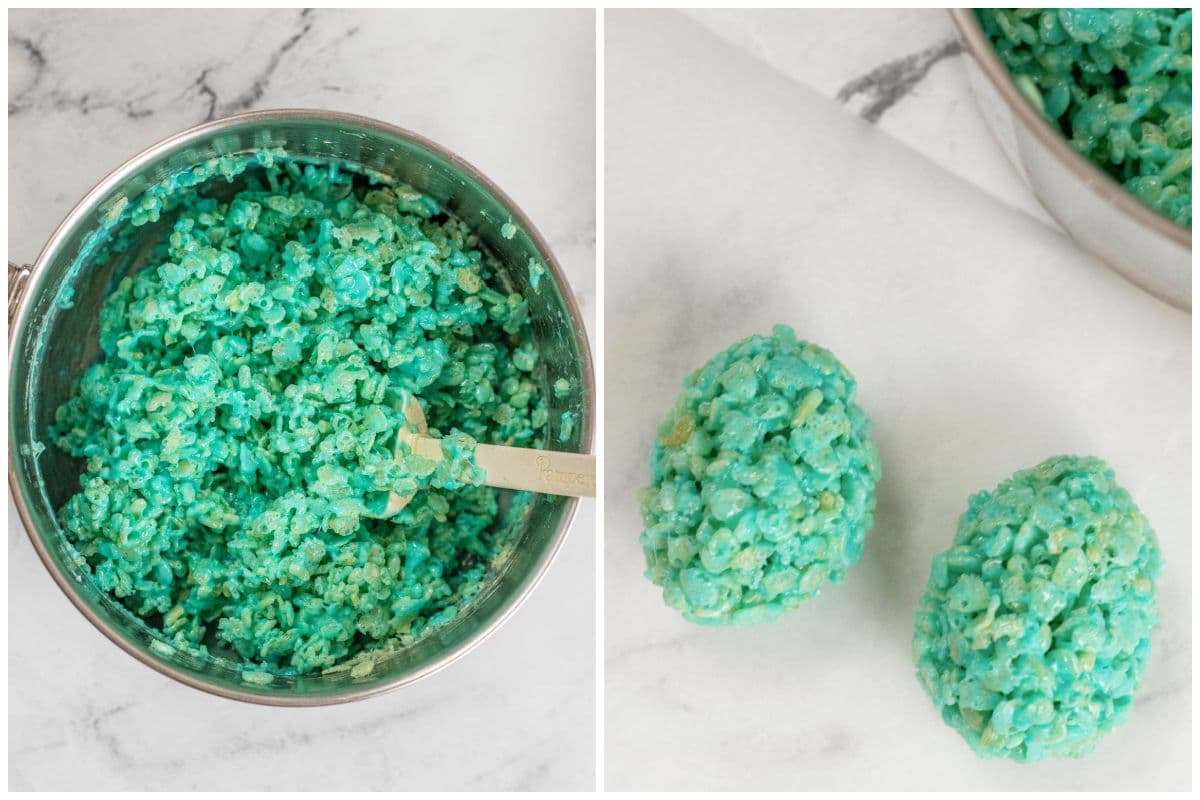
Step 2: Remove the melted marshmallow mixture from the heat and Add 2-3 drops of food coloring to start and stir until thoroughly mixed in. Take a look and see if you need to add more coloring to reach the desired color.
Then stir in the Rice Krispies until the cereal is completely coated.
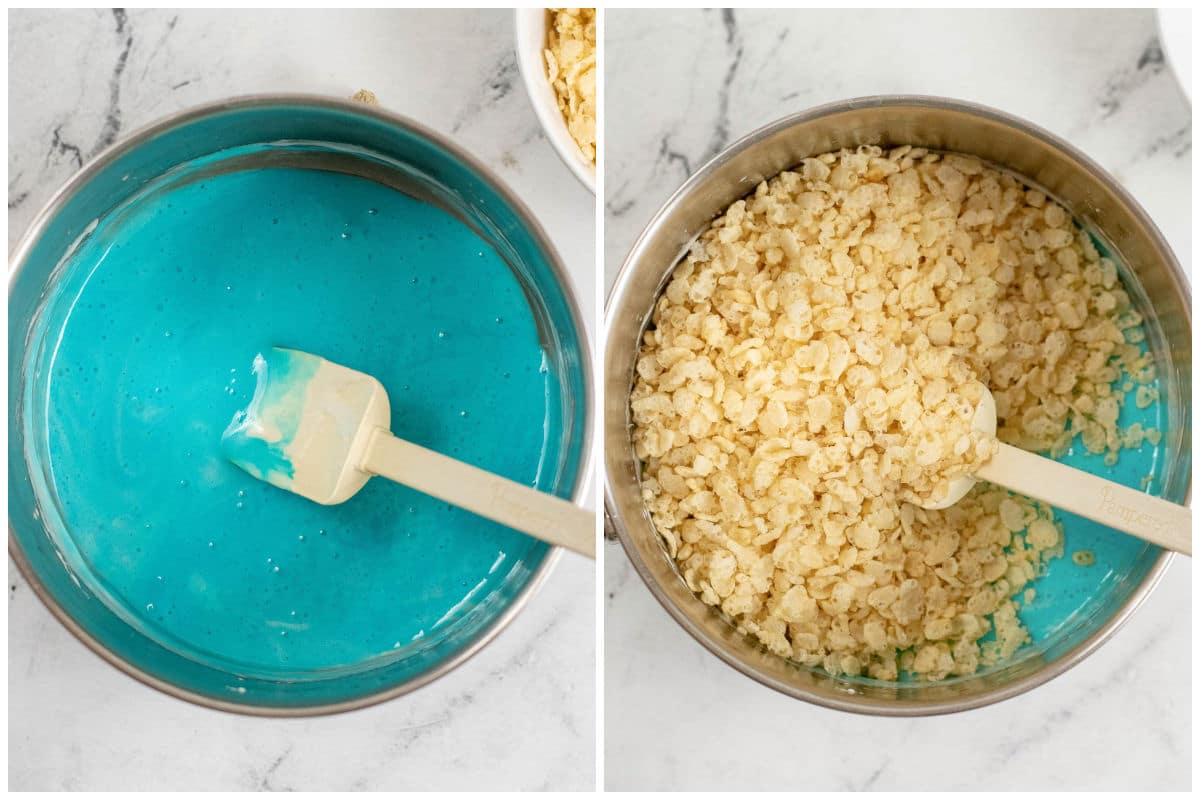
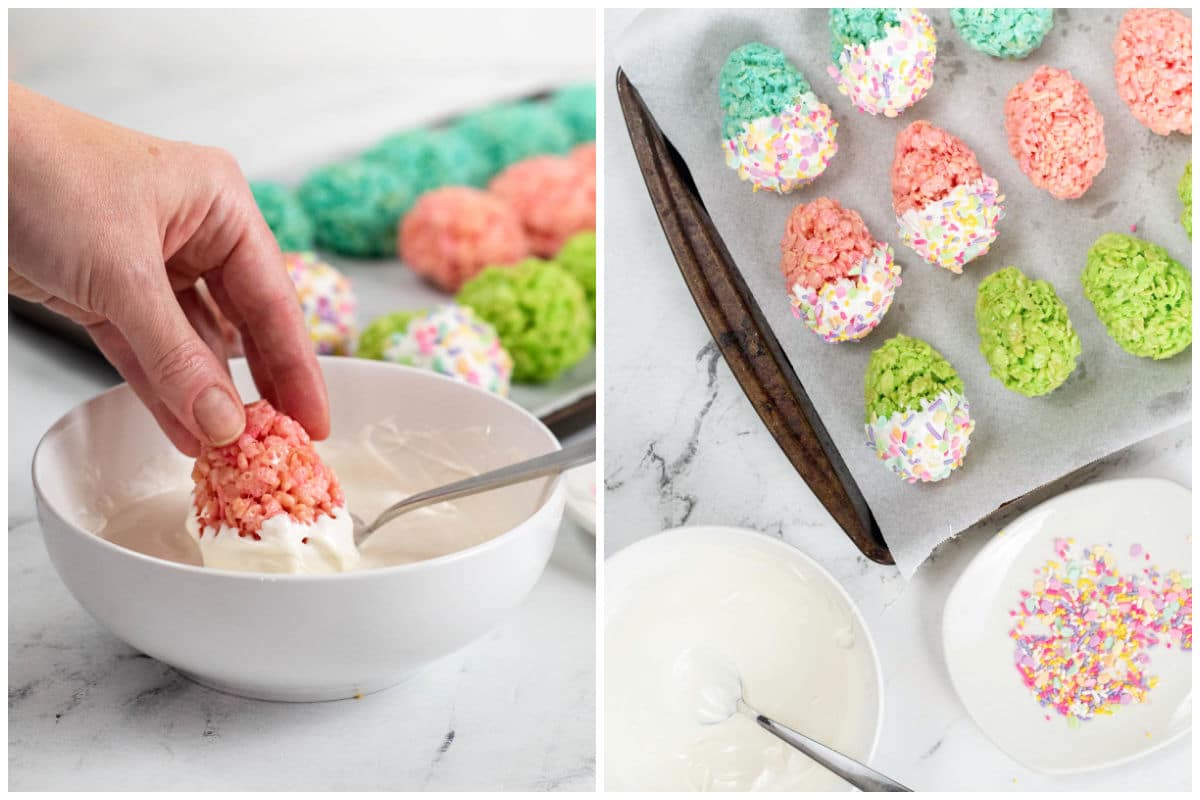
Step 3: Scoop out ¼ cup of the cereal mixture into buttered hands and fingers and press the mixture into egg shapes. It’s ok if they’re not completely perfect, or the same size. Since there is no need to keep the size even for any baking, different sizes could be cute! Place formed rice Krispie Easter egg onto a parchment-lined baking sheet to cool completely.
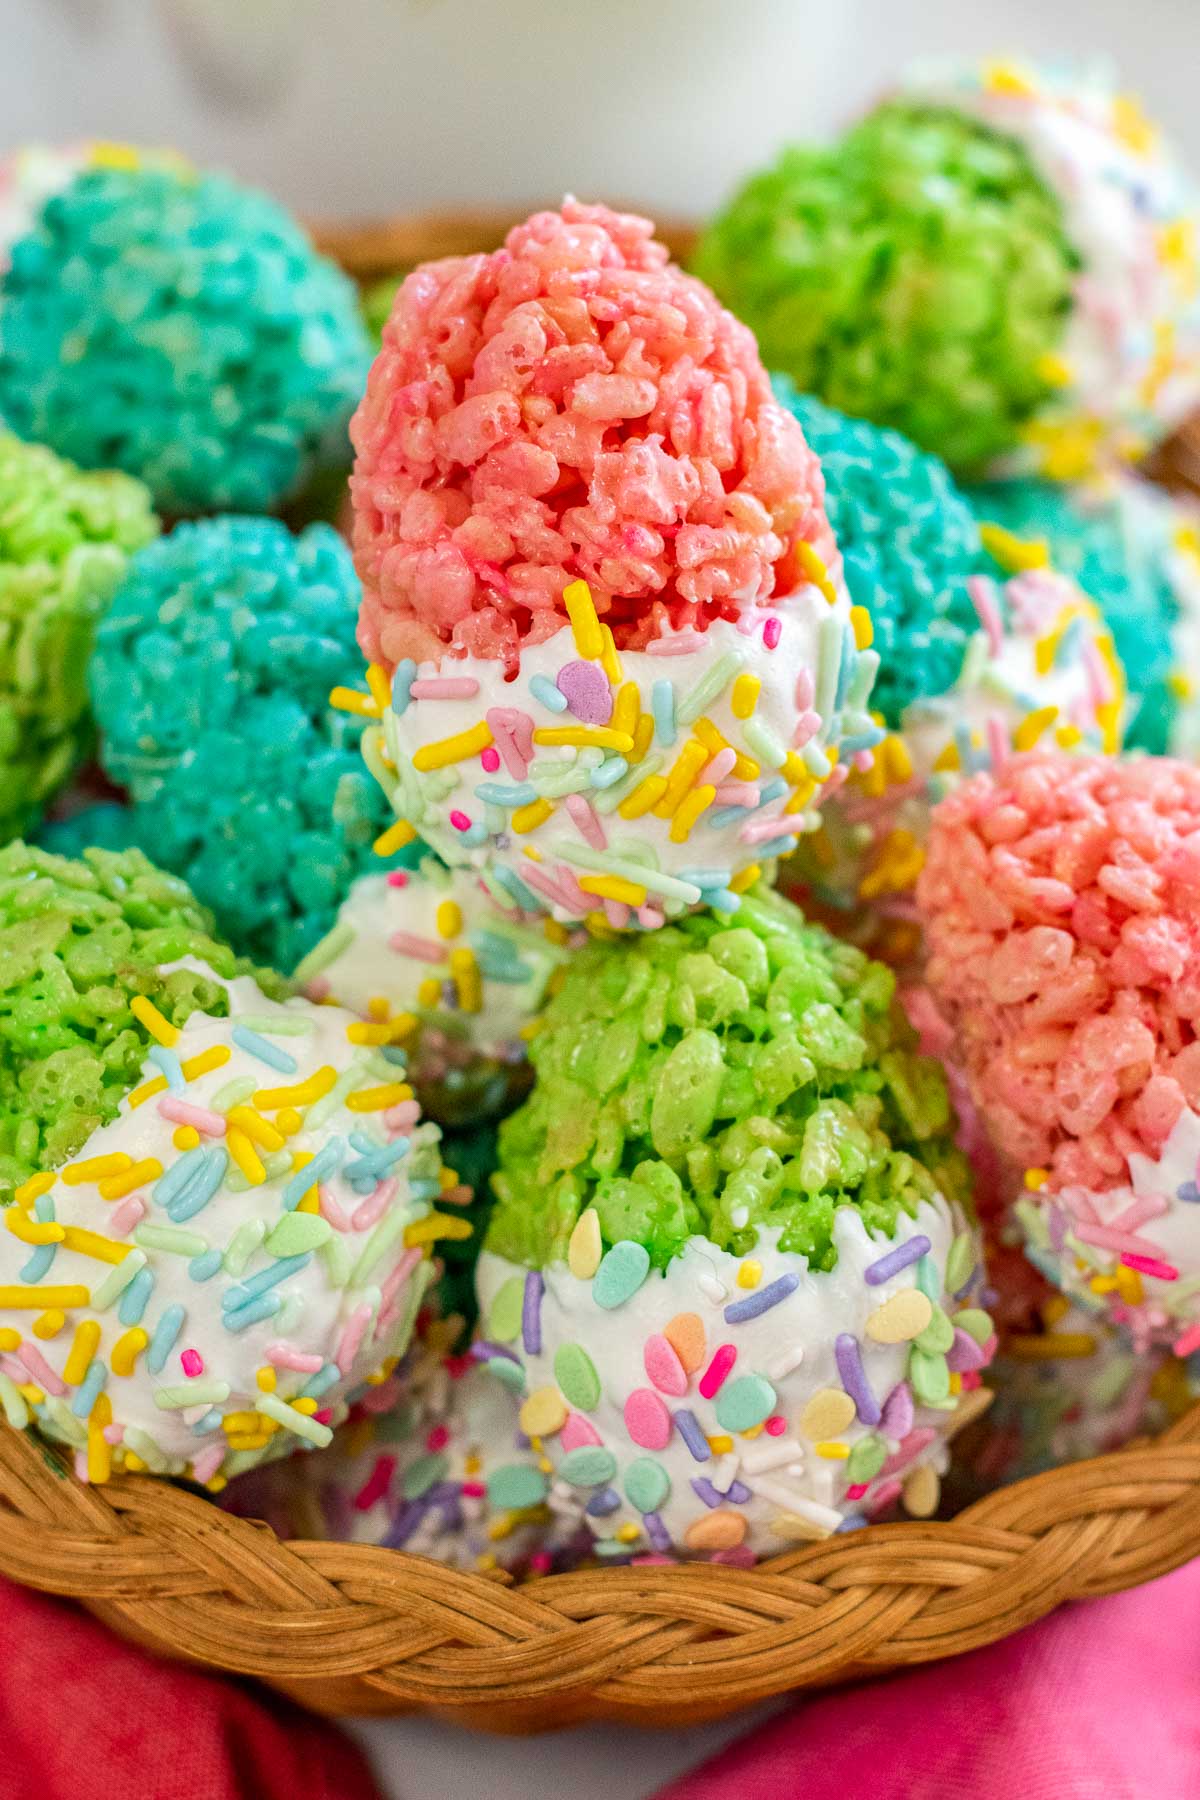
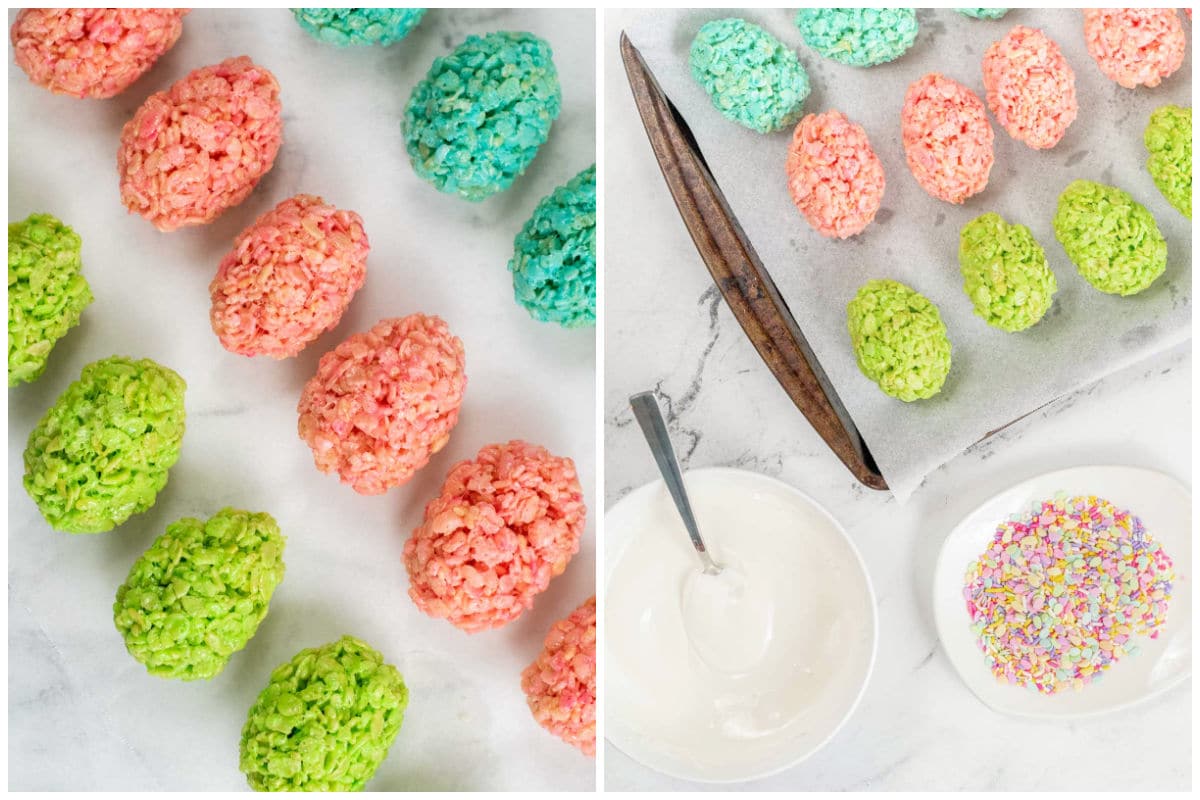
Step 4: Place sprinkles on a plate and set them aside. Melt candy melts or chocolate chips in the microwave for two 30 second intervals, stirring in between. Once smooth, dip each bottom into the melted chocolate and then sprinkle with some pastel colored sprinkles (or carefully dip it into the sprinkles).
Step 5: Place the treats back onto the tray to set. Repeat until all of treats have been dipped and sprinkled. THEN, you’re going to repeat the entire process with each color you want to use!
Variations/Substitutions
- Mix in seasonal colored mini M&M’s into the Rice Krispie mixture before shaping them.
- Dip in melted semi-sweet chocolate instead of white chocolate.
- Keeping with the Easter theme, you can shape them into rice krispie Easter nests and fill them with egg-shaped candy, like peanut m&m’s, Cadbury eggs, or jelly beans.
- If you’re not in the mood to shape anything, you can still make regular rice Krispie squares and drizzle melted chocolate on top.
- If you don’t have any melted chocolate at all, feel free to omit it completely. The colored eggs are cute as is!
Tips for Making the Best Colorful Rice Krispie Treats
- Be careful not to over-heat the candy or chocolate or it will become too thick. It could also burn.
- If using large marshmallows instead of mini, count out about 12-15.
- It’s easier to add color than it is to remove it (well, that’s actually not possible), so start with a couple of drops of food coloring and work your way to as much as you want.
- Gel food coloring is more concentrated giving it a more vibrant color. This means you’ll need fewer drops to get the same color as you would with more drops of liquid food coloring. Both are great, however liquid food coloring is generally cheaper.
- If getting the kids to help, check the temperature of the Rice Krispie treats mixture before handing it over to the kids to form into shapes.
- They will stick to the baking sheet if not lined. Parchment paper or wax paper is best to use.
- Add some butter to your hands when molding to help keep it from sticking to your hands.
FAQ’s
All it takes to store these Easter egg treats is to keep them covered in an airtight container at room temperature. They’ll keep fresh and chewy for up to 4 days. Anything past that you’ll notice they start to get stale.
Yes! If you need purple, combine red and blue. Looking for green? Mix yellow and blue. You can find pink, but you could also just use a drop or two of red.
If you don’t have food coloring on hand, make regular rice Krispie treats and mold them into egg shapes. You can leave them as is, dip them in melted chocolate and sprinkles, or mix in some mini m&ms into the marshmallow mixture before you shape them.
Transfer any treats you have made for down the road into a freezer-friendly Ziploc bag or airtight container. Keep them frozen for up to 3 months and thaw at room temperature before biting into one!
If you like this recipe, please leave us a comment and rate the recipe below. You can also find us on Facebook, Pinterest, Twitter and Instagram!
Easter Rice Krispie Treats
Ingredients
- 4 ½ Tablespoons Butter 1 ½ tablespoon for each color
- 6 Cups Mini Marshmallows 2 cups for each color
- 9 Cups Rice Krispies Cereal 3 cups for each color
- 1-2 Cups White Candy Melts or white chocolate chips
- Easter Sprinkles
- 3 Colors Food Coloring
Instructions
- In a medium sauce pan, add 1 ½ tablespoons butter and melt over medium-low heat.
- Add 2 cups marshmallows and stir until melted, stirring frequently.
- Add in a 2-3 drops of food coloring (or more until desired color is reached) and stir until thoroughly mixed in.
- Remove from heat and stir in 3 cups of rice krispies. Stir until cereal is completely coated.
- Scoop out ¼ cup of the mixture into buttered hands and fingers and press the mixture into egg shapes
- Place on a parchment paper (or wax paper) to cool completely. .
- Repeat this process with the other two additional color choices.
- Place the candy melts a microwave safe bowl and melt for 30 seconds, then stir and repeat for an additional 30 seconds. Stir until smooth. (you can also use a double boiler to melt the candy or white chocolate chips)
- Place sprinkles on a plate.
- Dip each egg bottom into the melted chocolate and then gently dip into the sprinkles or use fingers to sprinkle just a few onto the melted chocolate.
- Place the treats on the parchment paper to set.
- Repeat until all of the treats have been dipped and covered with sprinkles.
Notes
Nutrition
Nutritional Disclosure
Nutrition information is automatically calculated and should only be used as an approximation.





Leave a Reply