

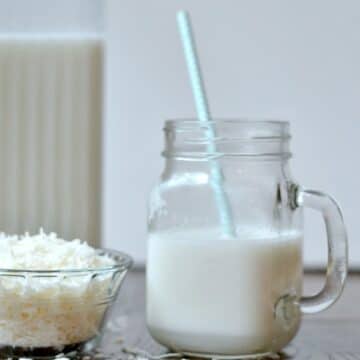
Making your own Homemade Coconut Milk is so much easier than you would ever think. It is a wonderful creamy, healthier and cheaper alternative to store bought cartons.

Homemade Coconut Milk
I have been wanting to start making our own milks for a while now. I, like many of you maybe, have thought it was much more involved and difficult than it truly is.
I have experimented with lots of DIY staples over the past couple of years, like Homemade Coffee Creamer, Homemade Taco Seasoning, Homemade Pumpkin Pie Spice, Homemade Cream of Mushroom Soup. None of them are hard. Believe me, if I can do it anyone can! 🙂
I absolutely love coconut milk! It’s a delicious, dairy-free alternative! Making coconut milk from scratch takes just 2 ingredients (maybe 3 if you want to add the vanilla)
Truly, what is easier than blending some dried unsweetened coconut with plain water? Right!? That’ it!
The only appliance you will need is a high speed blender like the Ninja (or any other high speed blender) Shop Ninja Blenders and Food Processors!

How to Use Homemade Coconut Milk
- Plain of course. It’s naturally sweet and delicious.
- In any recipe that calls for milk.
- In oatmeal or other hot cereals like cream of rice or buckwheat.
- In your smoothies. (try this amazing Strawberry Blueberry Banana Smoothie)
- In your coffee! So yummy!

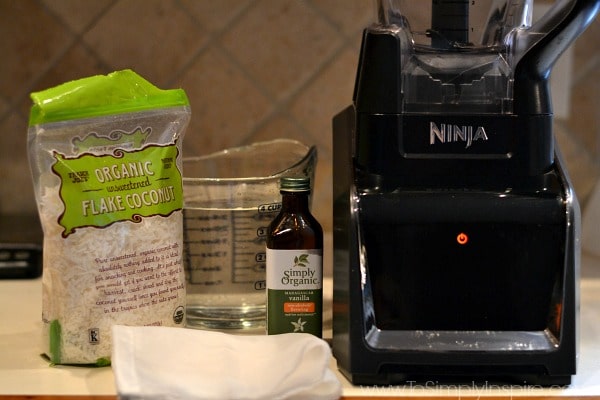
What You Need to Make Coconut Milk
2 cups Organic Shredded Coconut Flakes
3 or 4 cups of water (filtered is best) Use less water for creamier milk
½ teaspoon vanilla extract, optional (I like this organic version)
Sweetener of choice, optional (I have added a pitted medjool dates to mine several times but you can also add stevia or similar)


Homemade Coconut Milk
Ingredients
- 2 cups coconut flakes organic is best
- 4 cups water
- ½ teaspoon vanilla extract optional
- 1 date optional
Instructions
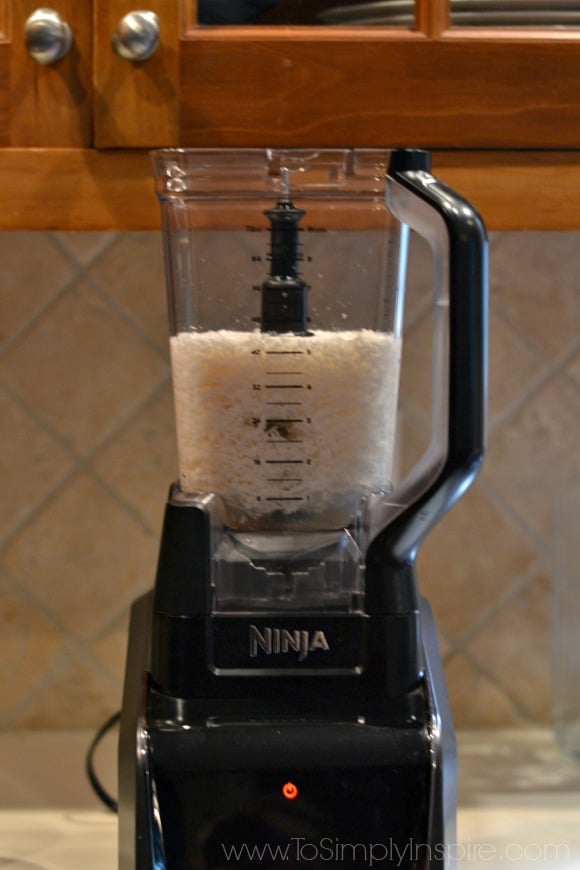
- Add coconut, 3 or 4 cups of water,, and any optional add ins into the high-speed blender.
- Blend for 2 minutes or until it is well combined.
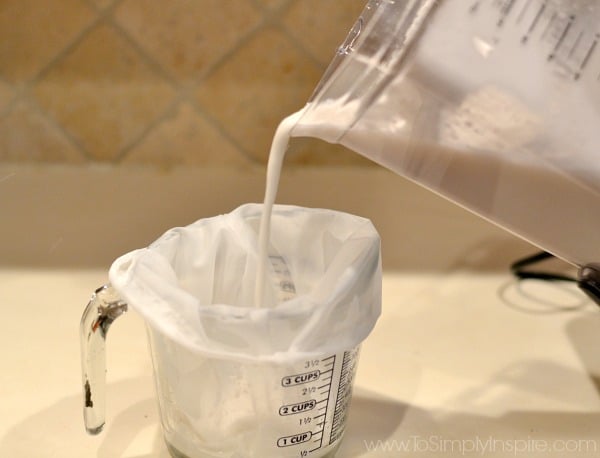
- Place the nut back in a bowl, pitcher or large measuring cup
- Pour the mixture into the nut bag, (you can also use a cheesecloth but I think the nut bag is easiest)
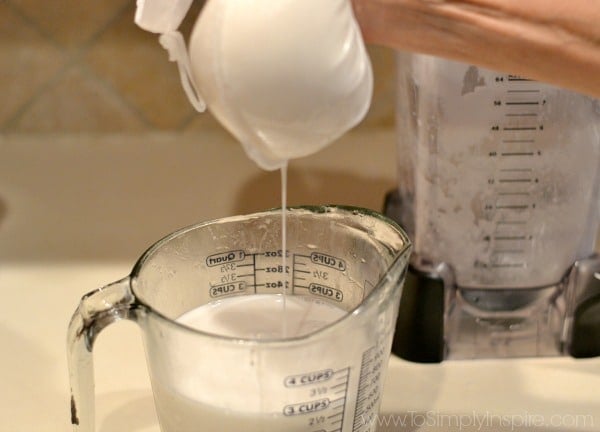
- Squeeze the bag gently to get all the liquid out of the pulp.
- You can save the pulp to use in recipes or to add to smoothies or no bake energy bites.
- Pour into a pitcher and refrigerate for up to 5 days. (the milk may separate while in the refrigerator. That is completely normal. Just give a little shake to mix it a little)
Notes
Nutrition
Nutritional Disclosure
Nutrition information is automatically calculated and should only be used as an approximation.

Lawrencia
Very good and so eay