


A homemade pie crust made with simple ingredients, no shortening, and only 15 minutes of chill time results in a buttery, flaky crust used to hold all of your delicious sweet and savory pie fillings!
There’s always a reason to keep a homemade pie crust handy. It’s a convenient way to whip up a last-minute dessert for BBQs, potlucks, or an after-dinner dessert, no matter the season. A delicious blueberry pie in the summer or an apple pie in the fall. This quick and easy recipe is perfect for beginners and weekend baking with the kids and grandkids all year round!
Homemade Pie Crust with Butter
There are so many benefits to knowing how to make the perfect pie crust from scratch. Not only does this easy no-fail recipe take just a few minutes of your time and only a handful of simple pantry ingredients, but that also means you can whip one up when the mood strikes. In fact, I like to make a couple at a time and freeze one so that the next time I need it, it’s ready for me. I know exactly what it is in it (and what is not in it), it’s light, it’s flaky and it’s the perfect pastry crust for any sweet pie like healthy pecan pie or a savory pie recipe like spinach pie.
Making pie dough without shortening and just butter means the crust will have more flakier layers. This is because there is more water content in butter than there is shortening, and when it bakes, the water evaporates creating steam. The result of this is lots of flakes and buttery goodness. It’s simply delicious!
This butter pie crust recipe is the best type of to use if you’re going to be creating a fancier double crust pies with a lattice crust top or cutting out shapes. It’s also great for making these mini pumpkin pies which are super cute handheld desserts. A crustier crust is also a great choice, but it will be a bit…well…crustier.
It’s a simple, easy-to-follow recipe that will help even the newest bakers become experts in all things homemade pie!
Why this homemade pie crust recipe works
- Quick and easy with this simple recipe that everyone can follow.
- Delicious buttery, flaky, and light.
- Freezer-friendly which makes it perfect for freezing for later. They keep for a while!
- Simple ingredients that we all have in our pantries already.
- Versatile pie crust that can be used for sweet and savory pies with all kinds of fillings.
- Can be made dairy-free with the simple swap of coconut oil for butter.
Ingredients You’ll Need
- Flour – All-purpose flour works best.
- Butter – You want to use cold butter, so no need to remove it from the fridge beforehand. Stick with unsalted if you can.
- Salt
- Apple cider vinegar
- Cold water – The colder the better. In fact, ice water is even better. Cold ingredients are super important in the baking process if you want a flaky crust.
- Lemon zest – Adds an additional flavor element but is optional.
Variations To Try
1: For a vegan pie crust, use cold coconut oil in place of the cold butter.
2: Add a bit of sugar for a little extra flavor and to help with the browning. If you know you’re making a sweet pie, you can definitely add a pinch.
How to Make Pie Crust from Scratch
This recipe is quick enough to make another one, to keep frozen for later, while you wait for the dough to chill. It’s worth the extra bit of effort, your future self will thank you!
Step 1: Pulse together the flour and salt in a food processor (or using a pastry cutter).
Step 2: Add in the cold butter and pulse until large crumbles form. Add the vinegar and pulse a few more times.
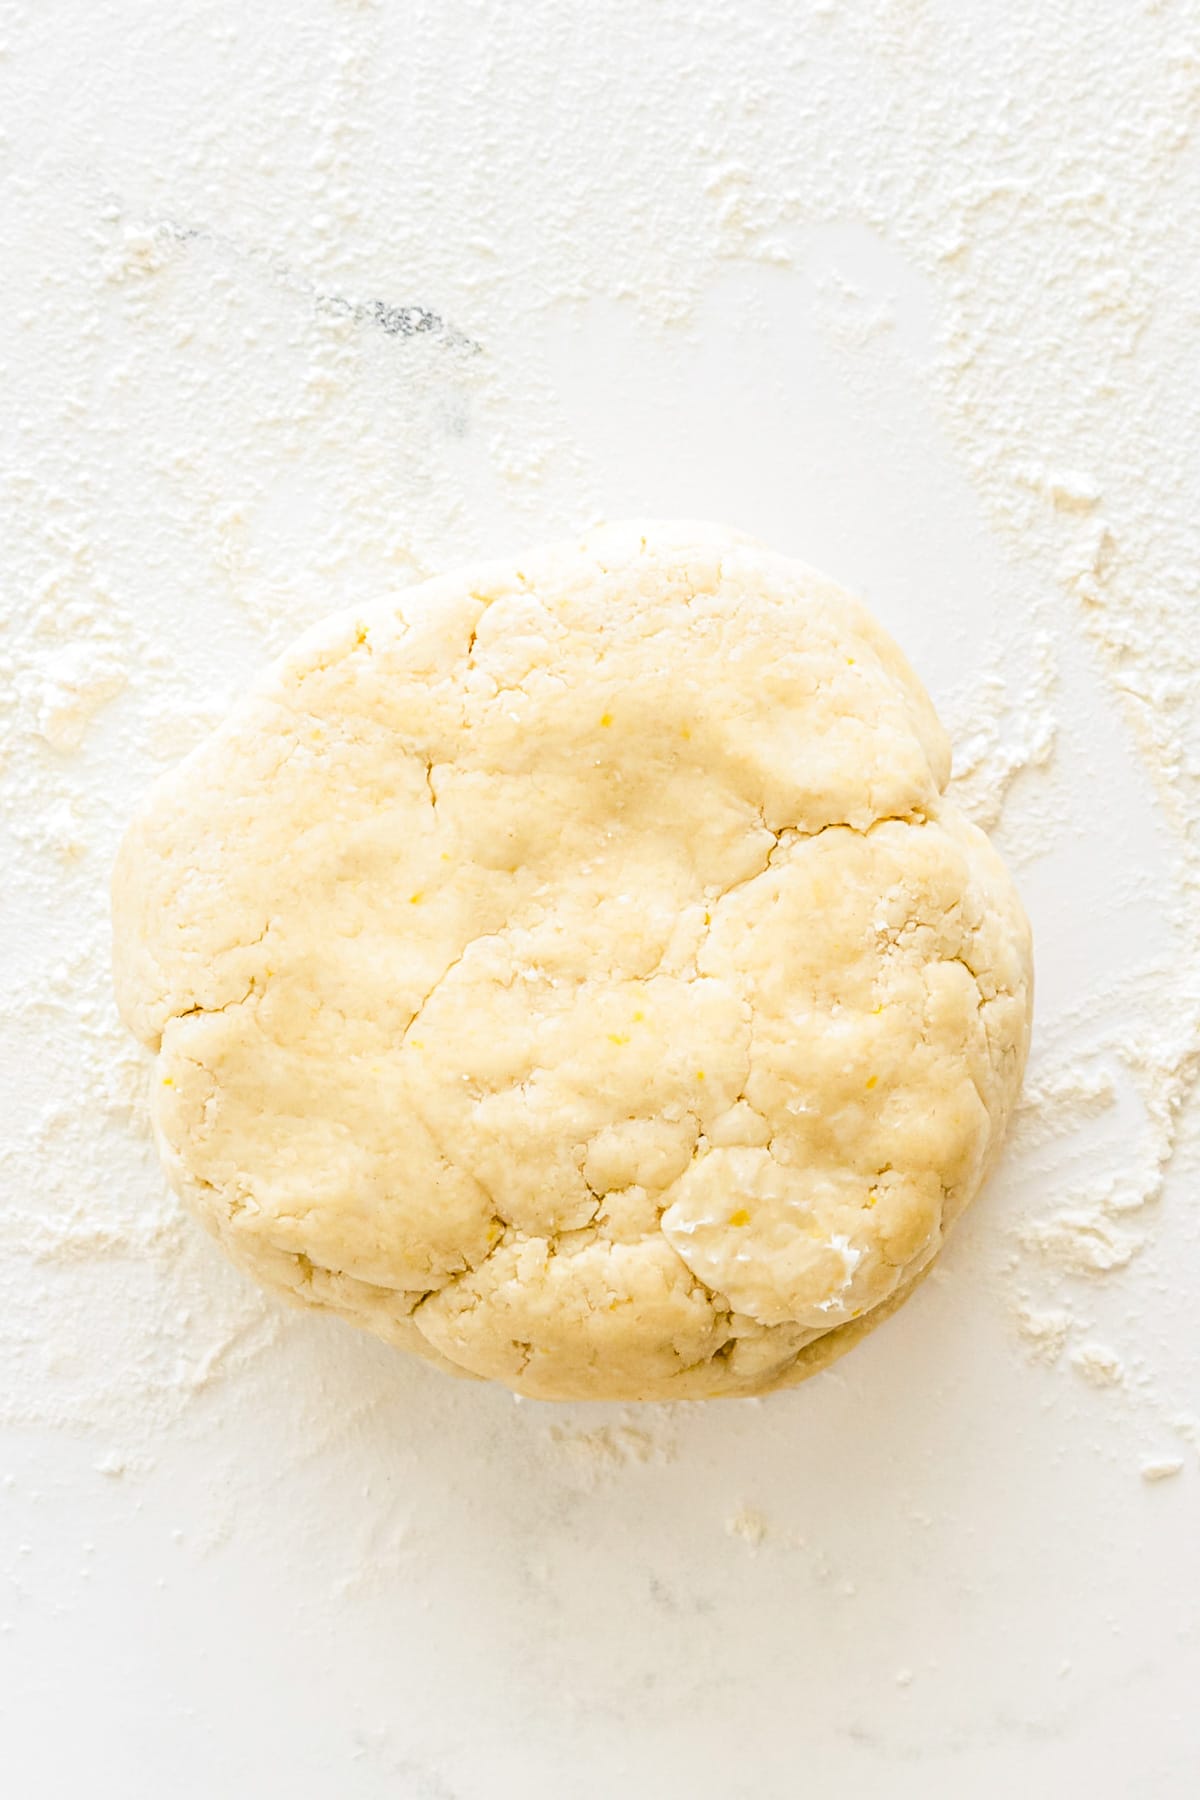
Step 3: Once you see that the mixture is combined into thick crumbs you’ll want to begin adding the water a bit at a time until it forms a dough ball. At this point, stop processing it.
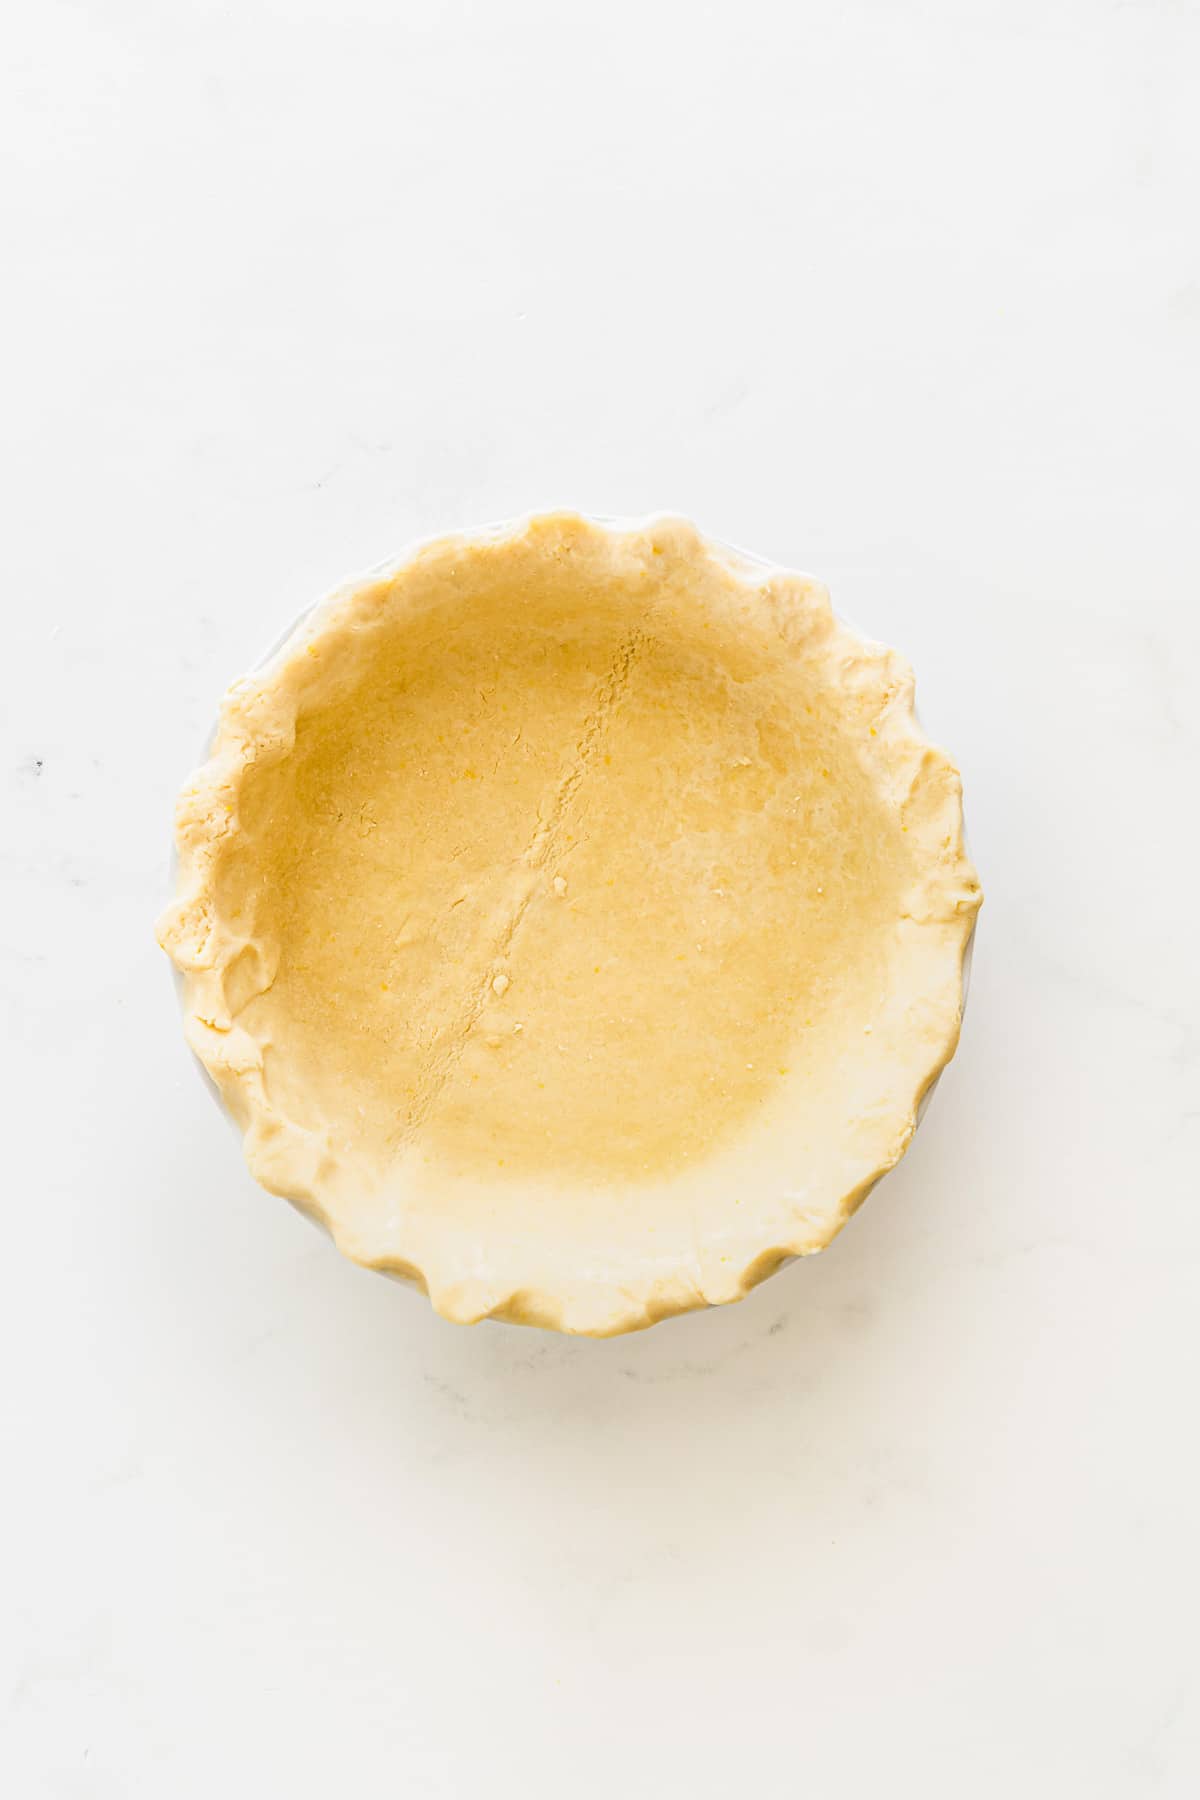
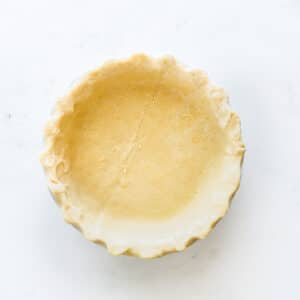
Step 4: Transfer the dough onto a counter and cut it evenly in half. Wrap in plastic and chill in the fridge minimum of 15 minutes for up to 3 days. Then use as you desire.
Can I make pie dough ahead of time?
This pie crust recipe is a great make-ahead recipe. Once you are chilling it in the fridge you can actually keep it there for up to 3 days until you are ready to use it. If it’s hard, just let it sit for a few minutes at room temperature to soften just a little but not too long or it becomes to soft and sticky to work with.
Tips
- Do not skip the chill time. Did I mention you want cold ingredients?
- If you don't have a food processor, use a fork or pastry cutter to mix the ingredients.
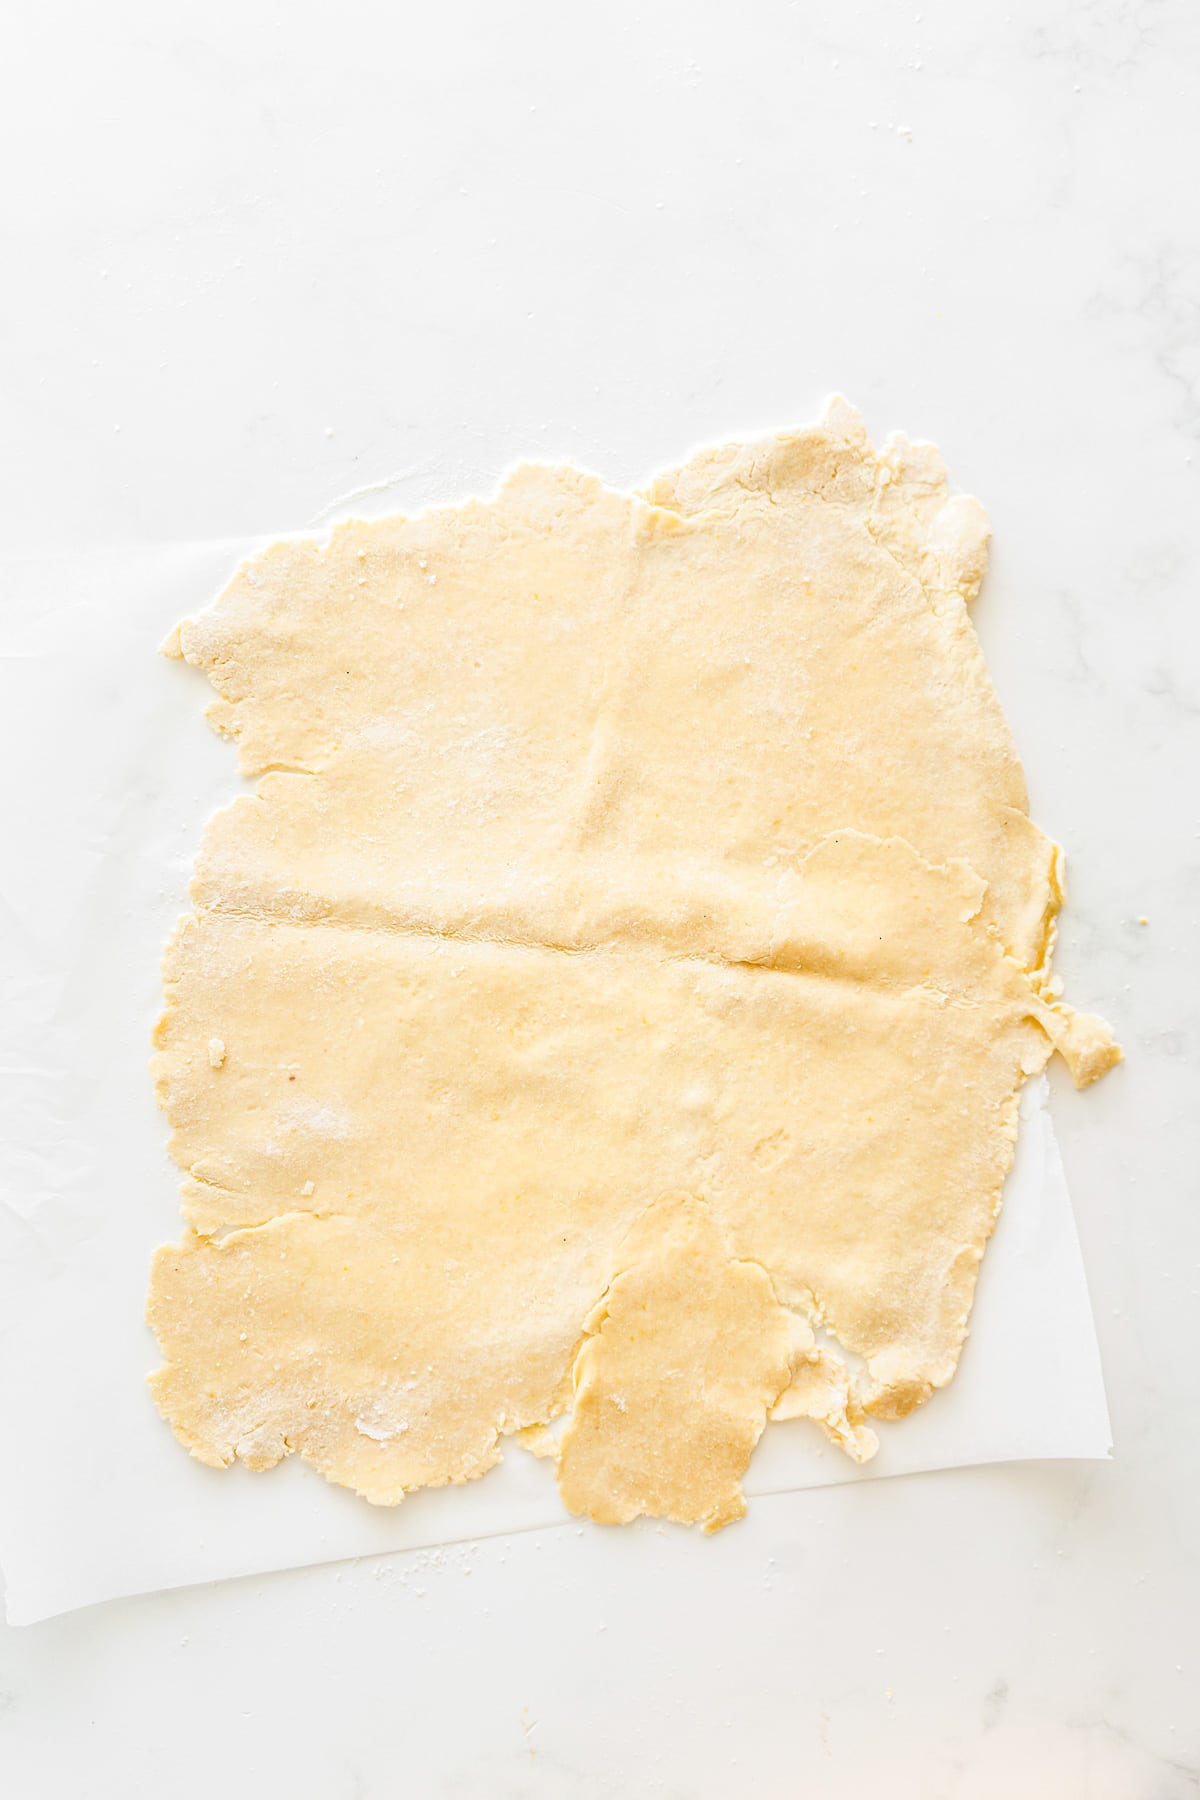
- Roll out dough on a floured surface to avoid sticking.
- Do not mix with your hands as the heat from your hands tends to soften the butter.
- Cut this recipe in half if you only need one pie crust.
- Use a glass pie plate if you can. Glass will help distribute the heat and give your crust a more even bake.
How To Store
If you know you won’t be using your pie dough right away or will be only using one crust and want to freeze the other, keep it wrapped in plastic and store it in the freezer for up to 3 months. Thaw in the fridge overnight before working with it again.
Freeze: You can keep them formed into a ball or disk wrapped in plastic wrap, in a freezer-friendly bag for months. You can also roll it out into a freezer-friendly pie dish and keep it wrapped tightly in aluminum foil in a freezer-friendly bag. The added convenience of doing it this way is that you don’t need to thaw the crust beforehand because it’s already rolled out. You may just need to add a little bake time to the recipe.
Other Dessert Recipes with Fruit
If you like this recipe, please leave us a comment and rate the recipe below. You can also find us on Facebook, Pinterest, Twitter and Instagram!
No Fail Homemade Pie Crust
Ingredients
- 4 cups flour
- 2 sticks cold butter cut into cubes
- 1 teaspoon salt
- 1 teaspoon apple cider vinegar
- 5 tablespoon ice cold water
- 1 tablespoon lemon zest optional
Instructions
- Add the flour and salt into a food processor and pulse 3 times to mix well.
- Then add in the cold butter and pulse 4-5 times or until large crumbles form (about the size of corn kernels).
- Add the vinegar and pulse 2-3 times again.
- Once the mixture is combined into thick crumbs, begin adding the water one tablespoon at a time.
- When it forms a dough ball, stop processing it.
- Place the dough out onto the counter and evenly cut it into 2 dough balls.
- Wrap them in plastic wrap and refrigerate for at least 15 minutes.
- Then use according to pie directions.
Notes
Nutrition
Nutritional Disclosure
Nutrition information is automatically calculated and should only be used as an approximation.


Jackie Harris
More of a question I don’t use white flour as my husband is diabetic. Can this be made with whole wheat white flour? Thank you